
I have been in the drywall for a long time now and I know early on I heard little to no talk about the level of finishing let alone a Level 5 Finish but as I started to do more and more larger homes with big open ceilings and big open walls I realized that I needed to put a higher level of finish in these areas, so I figured a Level 5 was the answer, that and a high quality painting job.
What lead me to writing this blog was when I looked at a large house that was quite an expensive house. One of the more expensive homes I’ve ever been in and the whole place was specked to have a level 5 finish, which was a good idea. But when it was all done there were the lot of little problems, small problems that in my opinion the painter could have addressed after it was primed. In other words just go through and touch up these little imperfections, you know a little unsanded corner or a slight gouge or maybe a slightly concave screw head or similar defects.
All this should have been addressed before the final coat of paint was applied and it would have solved the problems the homeowners were seeing, and that was the imperfect finish they were not expecting. They had paid for perfection.
But that wasn’t the biggest problem. The big problem was a long wall that was really well lit, and it was high. It was at least 12 feet high and there were visible lines and shadows along the whole wall. A Level 5 finish was applied to it a couple of times along with multiple coats of paint and it still did not look good.
Eventually somebody came in with a very long straight edge and discovered the wall was just very wavy. I think the framing, well actually I know the framing was poor quality. Maybe the materials they used weren’t crowned properly. I don’t know how it was framed but a lot of these higher walls are built to the normal ceiling height, let’s say 9 feet and then another small shorter wall is framed on top of that so we have that transition from one wall to the next, which is quite often a problem area. Combine this with wall studs that were very crooked and you have a problem that is going to be very difficult to correct now that the house is basically finished. Of course the homeowner is not happy and the drywaller is essentially being blamed or at least the drywaller was being blamed until the lousy framing was discovered.
I don’t really know what’s going to happen. I don’t really think it can be corrected with more and more coats of joint compound. So, that being said what should have been done? I remember a while back I was attending this trade show and one of the demonstrations was on engineered lumber and they had a high, long wall framed to replicate an interior wall. They were talking about this potentially being your kitchen wall and how maybe this is something you’d want to use to frame that wall. You would get perfectly straight flat walls so that the cabinets fit better and the countertop is easier to scribe in. I think that would have been a great solution for this house I recently visited.
A lot of homes with these highly visible areas are potential problems. Drywall is just drywall that’s attached to the framing and sometimes it’s only as good as the framing it’s attached to. Of course there are a lot of things to consider, such as the direction the drywall is hung, length of panels used, location of butted seams, and also of course the level of finish. But the drywall contractor typically is not the person who is inspecting the framing to a large degree. They’re hanging the drywall. I used to jokingly say, (maybe not totally jokingly), let’s say we’re talking about an inside corner of a wall, if there’s not a inside corner stud I used to say well there’s not going to be one because we are there to hang the drywall we don’t have power saw or nail gun or anything. We are there to hang the drywall.
That being said I’d written an article few years back about prep before drywall. It’s where you walk through with the framing contractor and pointing out all these potential issues, maybe even with that contractor have a can of spray paint so you could highlight these issues and get them corrected before I come there and start hanging and finishing the walls and ceilings. Also having a contractor on site while you’re doing the drywall it’s quite important. That doesn’t mean that the contractor has to just be hanging out, they could be doing something else like putting siding on or working on the outside porch. But just having somebody there who can answer some questions and make some corrections as needed while the drywall work is being done.
That’s how we’re going to help our customers get the high end finish that they’re looking for. I say all the time with particularly my customers, their expectations are really high they don’t expect any imperfections.
We do all smooth wall where I live, so there’s no texturing at all. I had a customer complain a few years back we had like 10 screw pops and I went back to fix them. (Keep in mind there’s approximately 1 screw per every square foot of drywall), so let’s say there was 10,000 square feet of drywall in this house and we had about 10 screw pops,. Well that’s that’s pretty good actually, but they were not happy and they were concerned that it was going to become a problem.
So we can’t necessarily or easily bring the customers expectations down, we have to strive to meet those expectations and that’s where we all work together. Framers need to take their time and consider all the things that should be considered to meet the customers expectations. Drywall contractors don’t need to be rushed, give them the time they need to complete the job properly. Make sure the painting contractors are the right people for the job because like I mentioned earlier some of these little imperfections that just show up after it’s primed in my opinion should be corrected by the painter or at the very least after priming invite the drywall contractor to do a walkthrough and correct all the little imperfections before any finished coats are applied.
It’s funny because I mentioned earlier that the house I looked at was a very expensive home I I would say 7 or $8 million, but I believe everything is relative. Those people had a lot of money to spend. I think the person who was building a $400,000 house has every bit the same rights to expect high quality because to that person’s $400,000 house is also their dream home, It’s also the biggest investment they will ever make. We need to help them have the high quality job that they deserve.
Meeting the customers expectations makes all of us contractors look really good.
Below it what the Gypsum Association says about a Level 5
Revised Levels of Finish for Gypsum Panel Products Released – Gypsum Association
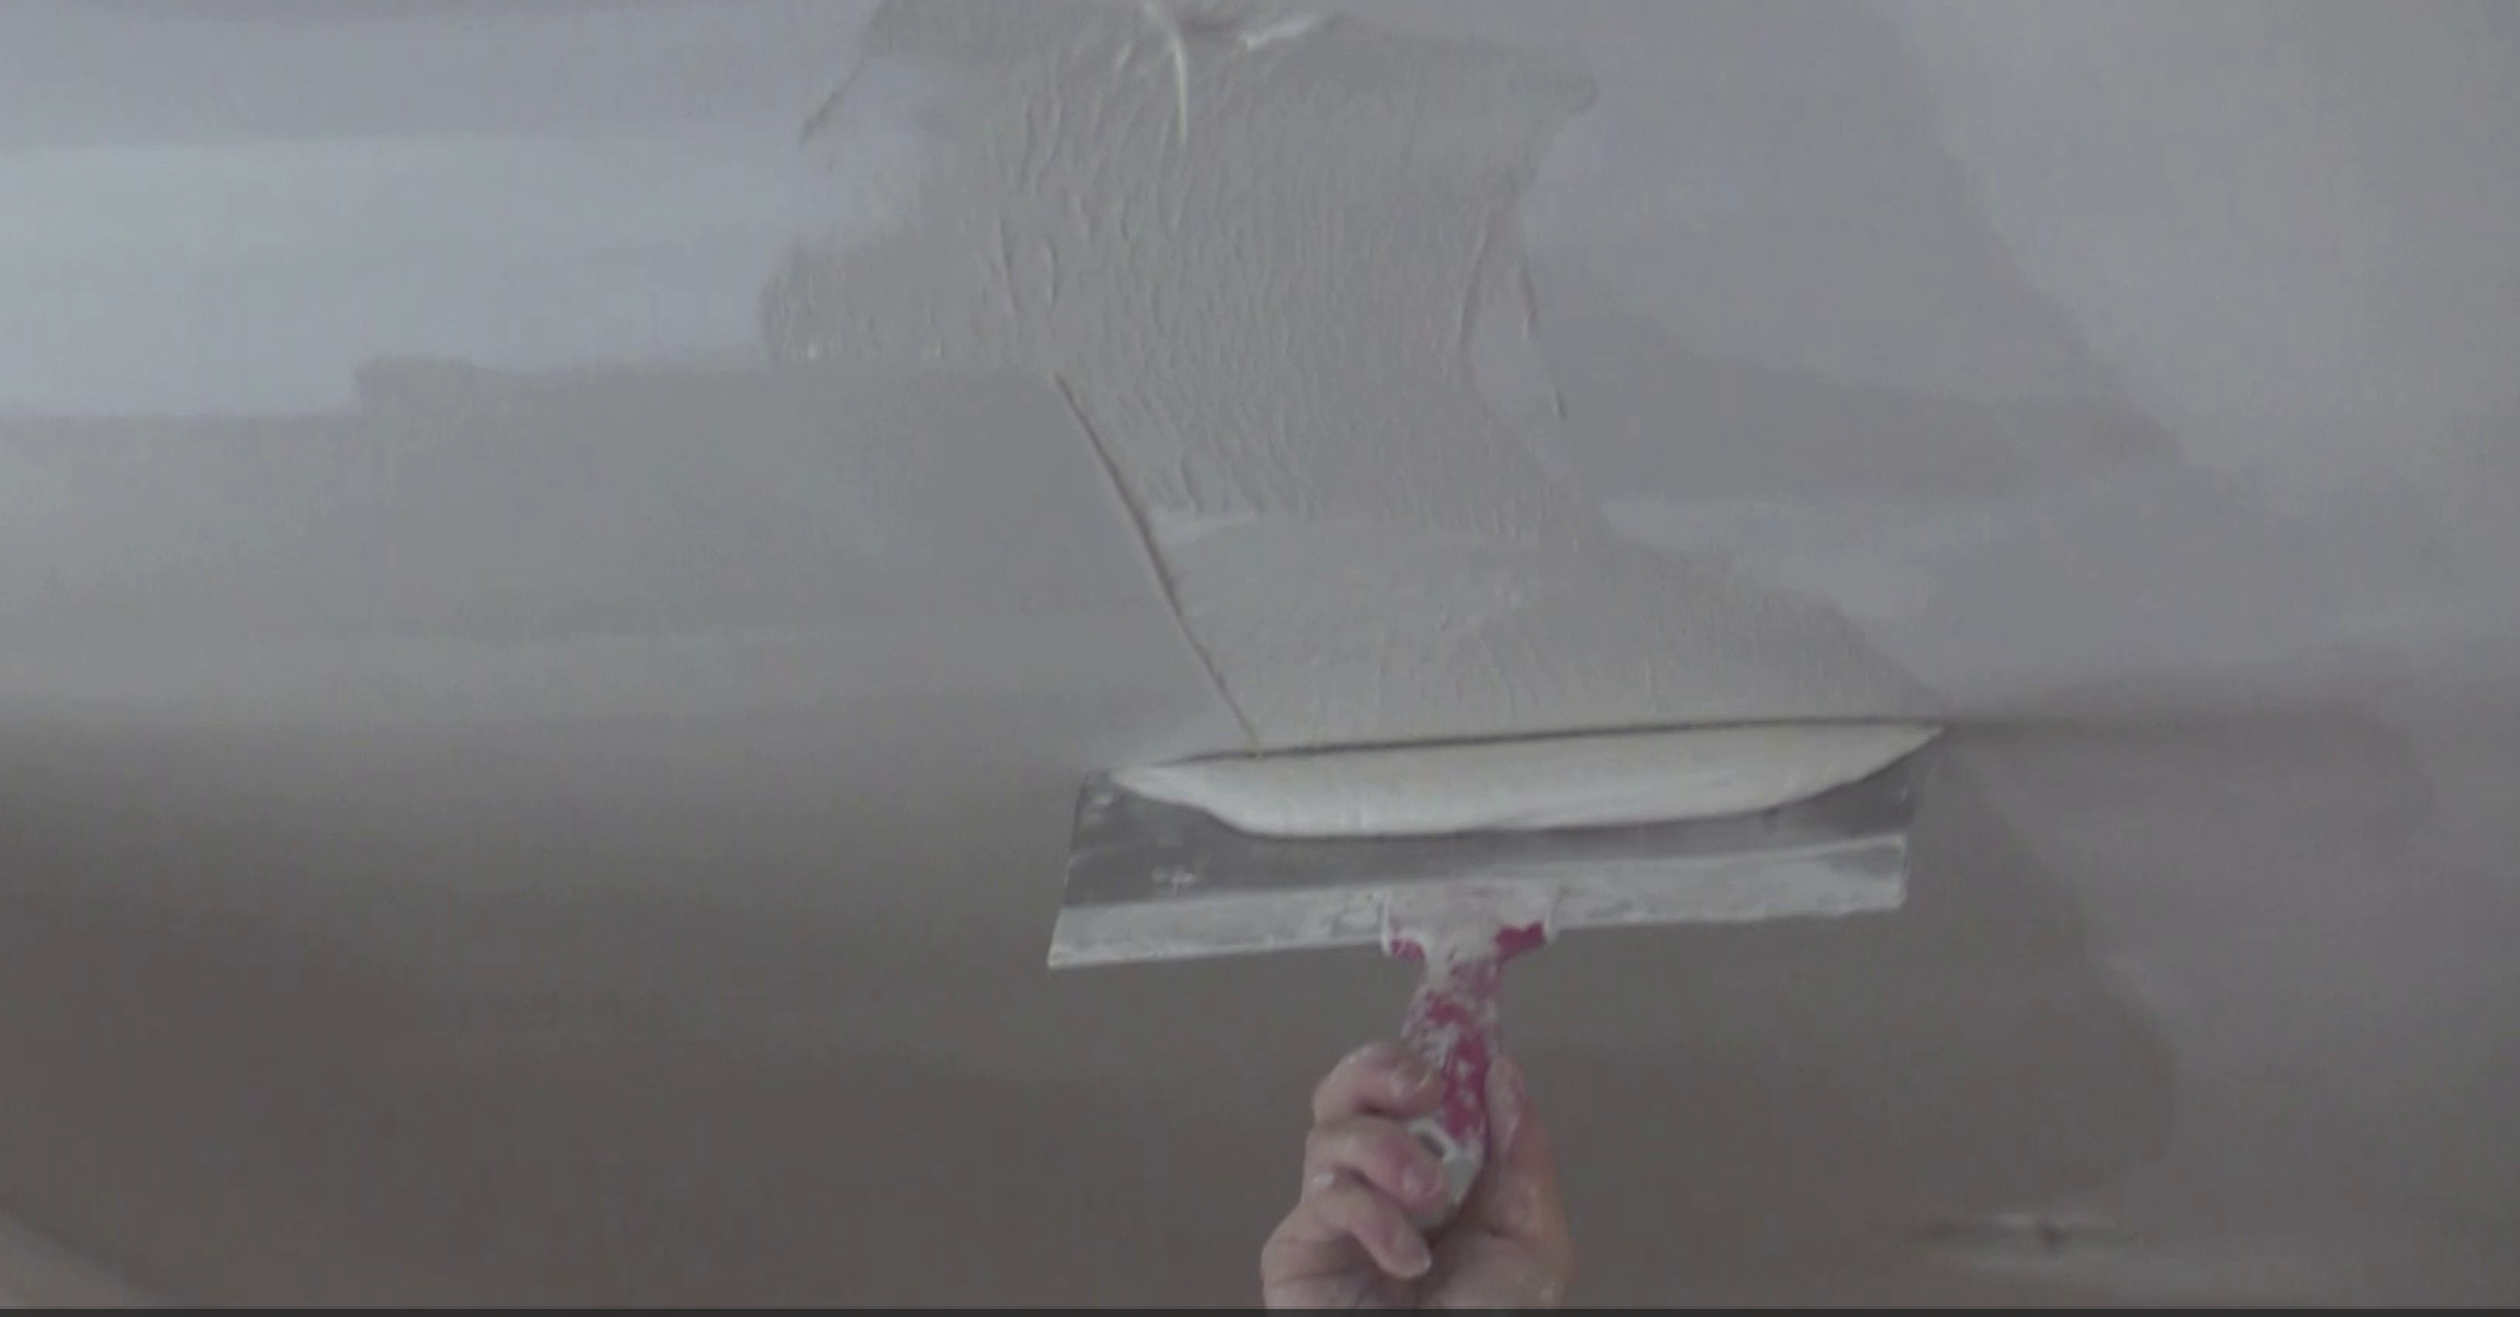
“LEVEL 5: Typically specified in appearance areas where smooth wall designs are decorated with non-flat paints (i.e. sheen/gloss) or other glossy decorative finishes, dark/deep tone paints are applied, or critical lighting conditions occur. The design professional shall clearly indicate the areas that meet these criteria on the finish schedule and/ or plans, and specify the mock-up procedure and construction details within the project documents. This level of finish is the most effective method to provide a uniform surface and minimize the possibility of joint photographing and/or fasteners showing through the final decoration. All joints and interior angles shall have tape embedded in joint compound and shall be immediately wiped with a joint knife leaving a thin consistent coating of joint compound over all joints and interior angles. Two (2) separate coats of joint compound shall be applied over all flat joints and one (1) separate coat of joint compound shall be applied over interior angles. Fastener heads and accessories shall be covered with three (3) separate coats of joint compound. A skim coat of joint compound or a material manufactured especially for this purpose shall be applied to the entire surface. The surface shall be smooth and free of tool marks (see “Skim Coat” in Comments). Where glass mat and/or fiber reinforced gypsum panels are installed, refer to the gypsum panel manufacturer for specific finishing recommendations. NOTE: It is recommended that the final decoration specification (e.g. painting specification) include the application of a priming material prior to the decoration. V. COMMENTS Critical (Severe) Lighting Areas. Examples include wall and ceiling areas that are illuminated or flooded with artificial and/or natural light. Strong oblique light from windows or surface-mounted light fixtures may exaggerate minor surface differences. Where critical lighting cannot be avoided, the effects can be minimized by skim coating the entire surface, decorating the surface with medium to heavy textures, or the use of draperies and blinds that soften shadows. In general, non-flat and dark/deep tone paints highlight minor surface differences, whereas textures conceal these minor differences. Dark Paints. Colors with deep or strong hues, and even flat paints, tend to magnify imperfections in the finished gypsum panel surface and increase the possibility of joint photographing. A skim coat over the gypsum panel surface will minimize these conditions. Natural and artificial lighting becomes critical for these surfaces. Environmental Control. The potential for finishing and decorating problems are minimized when temperature, humidity, and airflow remain constant and as close to occupancy environmental conditions as possible. A minimum temperature of 50°F (10°C) shall be maintained continuously for 48 hours prior to and throughout the finishing process until the project is completed/occupied. For excessively humid, hot, cold, and dry situations, refer to GA-236 Joint Treatment Under Extreme Weather Conditions. Inspection Criteria. The normal viewing position shall be at a minimum distance of five (5) feet (1.5 m) perpendicular from the surface. Blemishes should not be visible from a normal viewing distance with normal light. Inspection lighting conditions are described as those in place when the project is finished. This includes, but is not limited to; design lighting (e.g. wall washers, spots and floods, etc.) and natural lighting. Consideration shall be given to window treatment and/or any other decorative finishes that could affect lighting and viewing.”