Saving surfaces
By Myron Ferguson
FibaFuse Wall Reinforcement
A few years ago someone who does restoration work was telling me that the reason they like what they do for a living so much is they have learned to appreciate all the work and energy that went into putting together the building, the walls and ceilings, or whatever part of the building they are working on. Why spend a lot of energy taking it apart, throwing it away and rebuilding when it can be saved with a smaller amount of energy. I thought it was interesting that they used the work energy. I think energy is just another word for money.
Through the last few years I think I have a better understanding of what they were talking about. I am now more interested in saving and fixing what is already there if possible. Let’s get more specific here. I want to focus on walls and ceilings. I want to save them. I don’t want to tear them down and pay the landfill to bury them. But I want them to look good when I am done and I want them to stay looking good for a long time. More specifically I am talking about old plaster surfaces or maybe drywall that has extensive surface damage.
I have a project coming up where I am going to do just that. The house is 100 years old and in pretty good shape. There were a few problems that are the result of a patched up roof, (some things can’t be saved). Two of the upstairs bedroom ceilings were slightly water stained, here and there some of the plaster has lost its key, and because of age the ceilings are quite wavy. Years ago I would have said that the ceilings have to come down, the framing will have to be furred and shimmed and a drywall ceiling will be installed and finished. The result would be a flat smooth surface unlike any other surface in the house. The customer wanted the original look.
I told the customer I could seal the stains, tighten up the loose plaster with plaster washers and screws and then resurface the entire ceiling with a fiberglass mat and joint compound. The ceiling would be sound, crack, and stain free and still nice and wavy just like the rest of the house. I would not be removing hundreds of pounds of old plaster and carrying it out through there beautiful home.
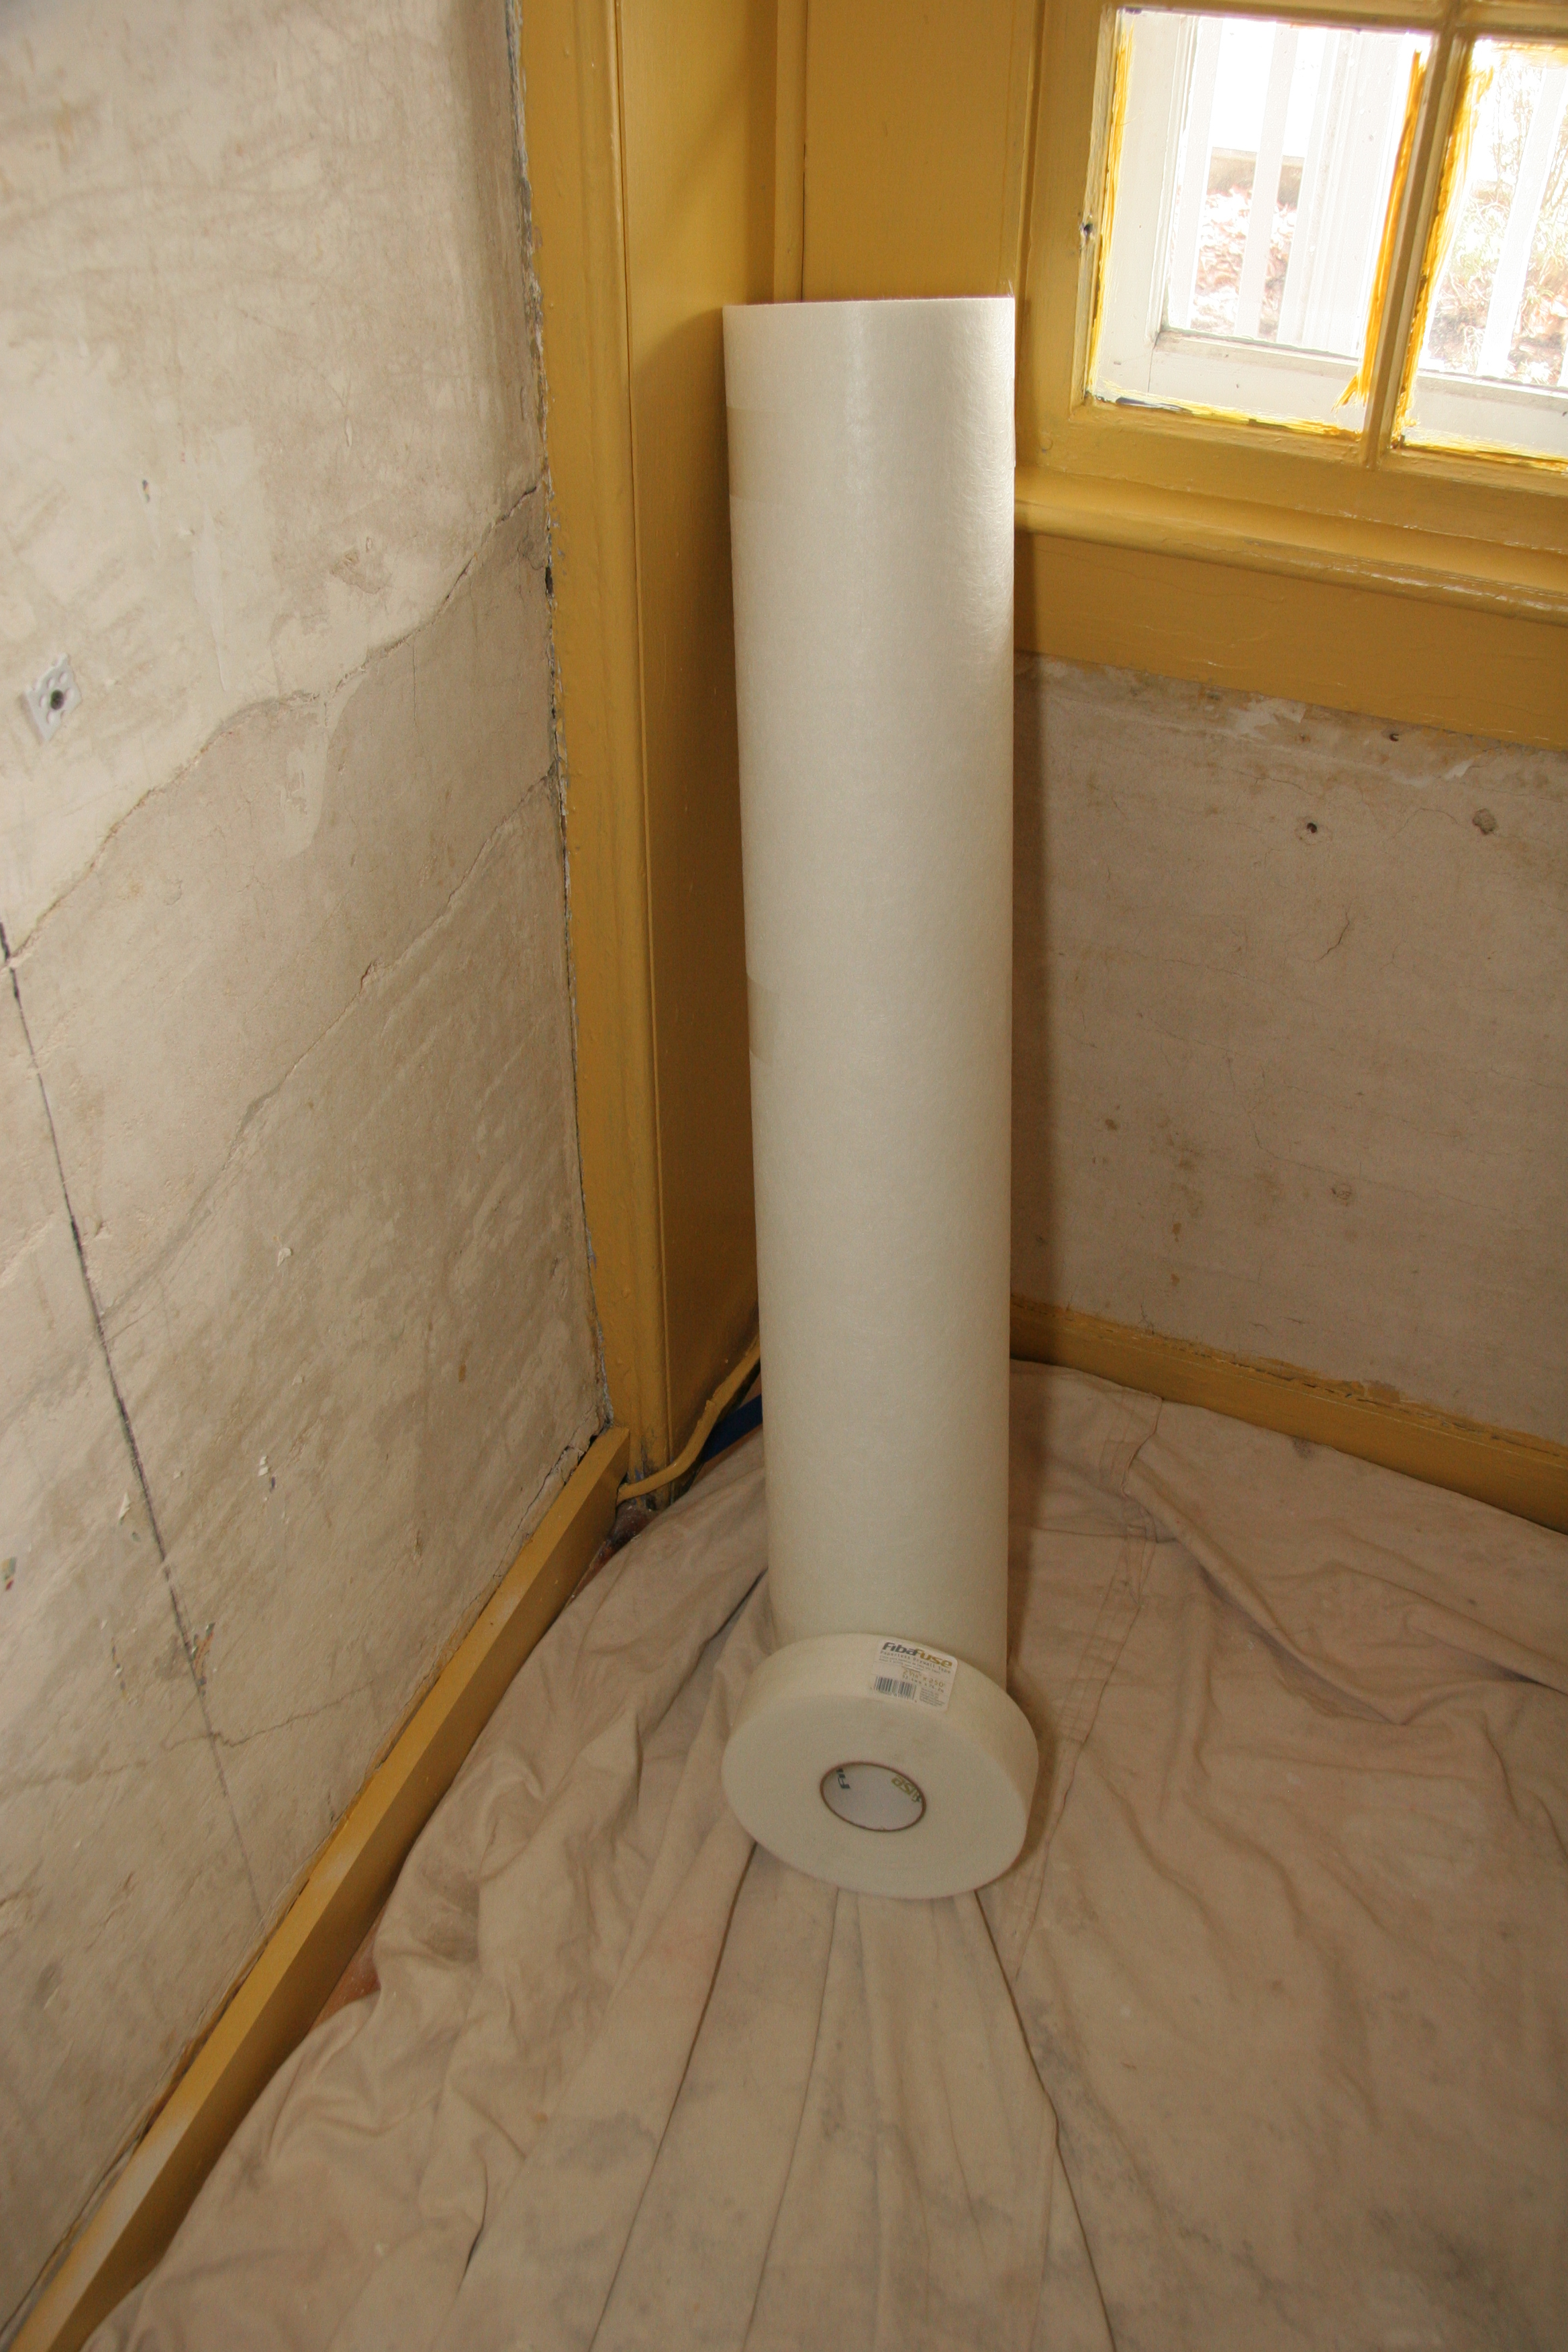
The fiberglass mat I will be using is called FibaFuse Wall Reinforcement. The rolls come 3 ft wide and ___ ft long. The adhesive that holds the mat in place is joint compound and the added thickness is only about 2mm (1/16”).
The photos below are from a job I did last year. The plaster was pretty sound but the finish coat was very thin which was typical at the time when a wall was going to be wallpapered. The complete process took four days to complete. The areas were the entrance foyer, the stairway, and the upstairs central hallway. Day one: repair cracks, loose plaster, and embed the FibaFuse Wall Reinforcement in joint compound. Day two: apply finish skim coat of joint compound over the FibaFuse. Day three: prime walls and apply base coat of decorative plaster. Day four: apply finish coat of decorative plaster and burnish.
All original casing and baseboard were left in place, only a few small areas of plaster had to be replaced, dust was kept to a minimum and hundreds of pounds of plaster were not dumped in the landfill.
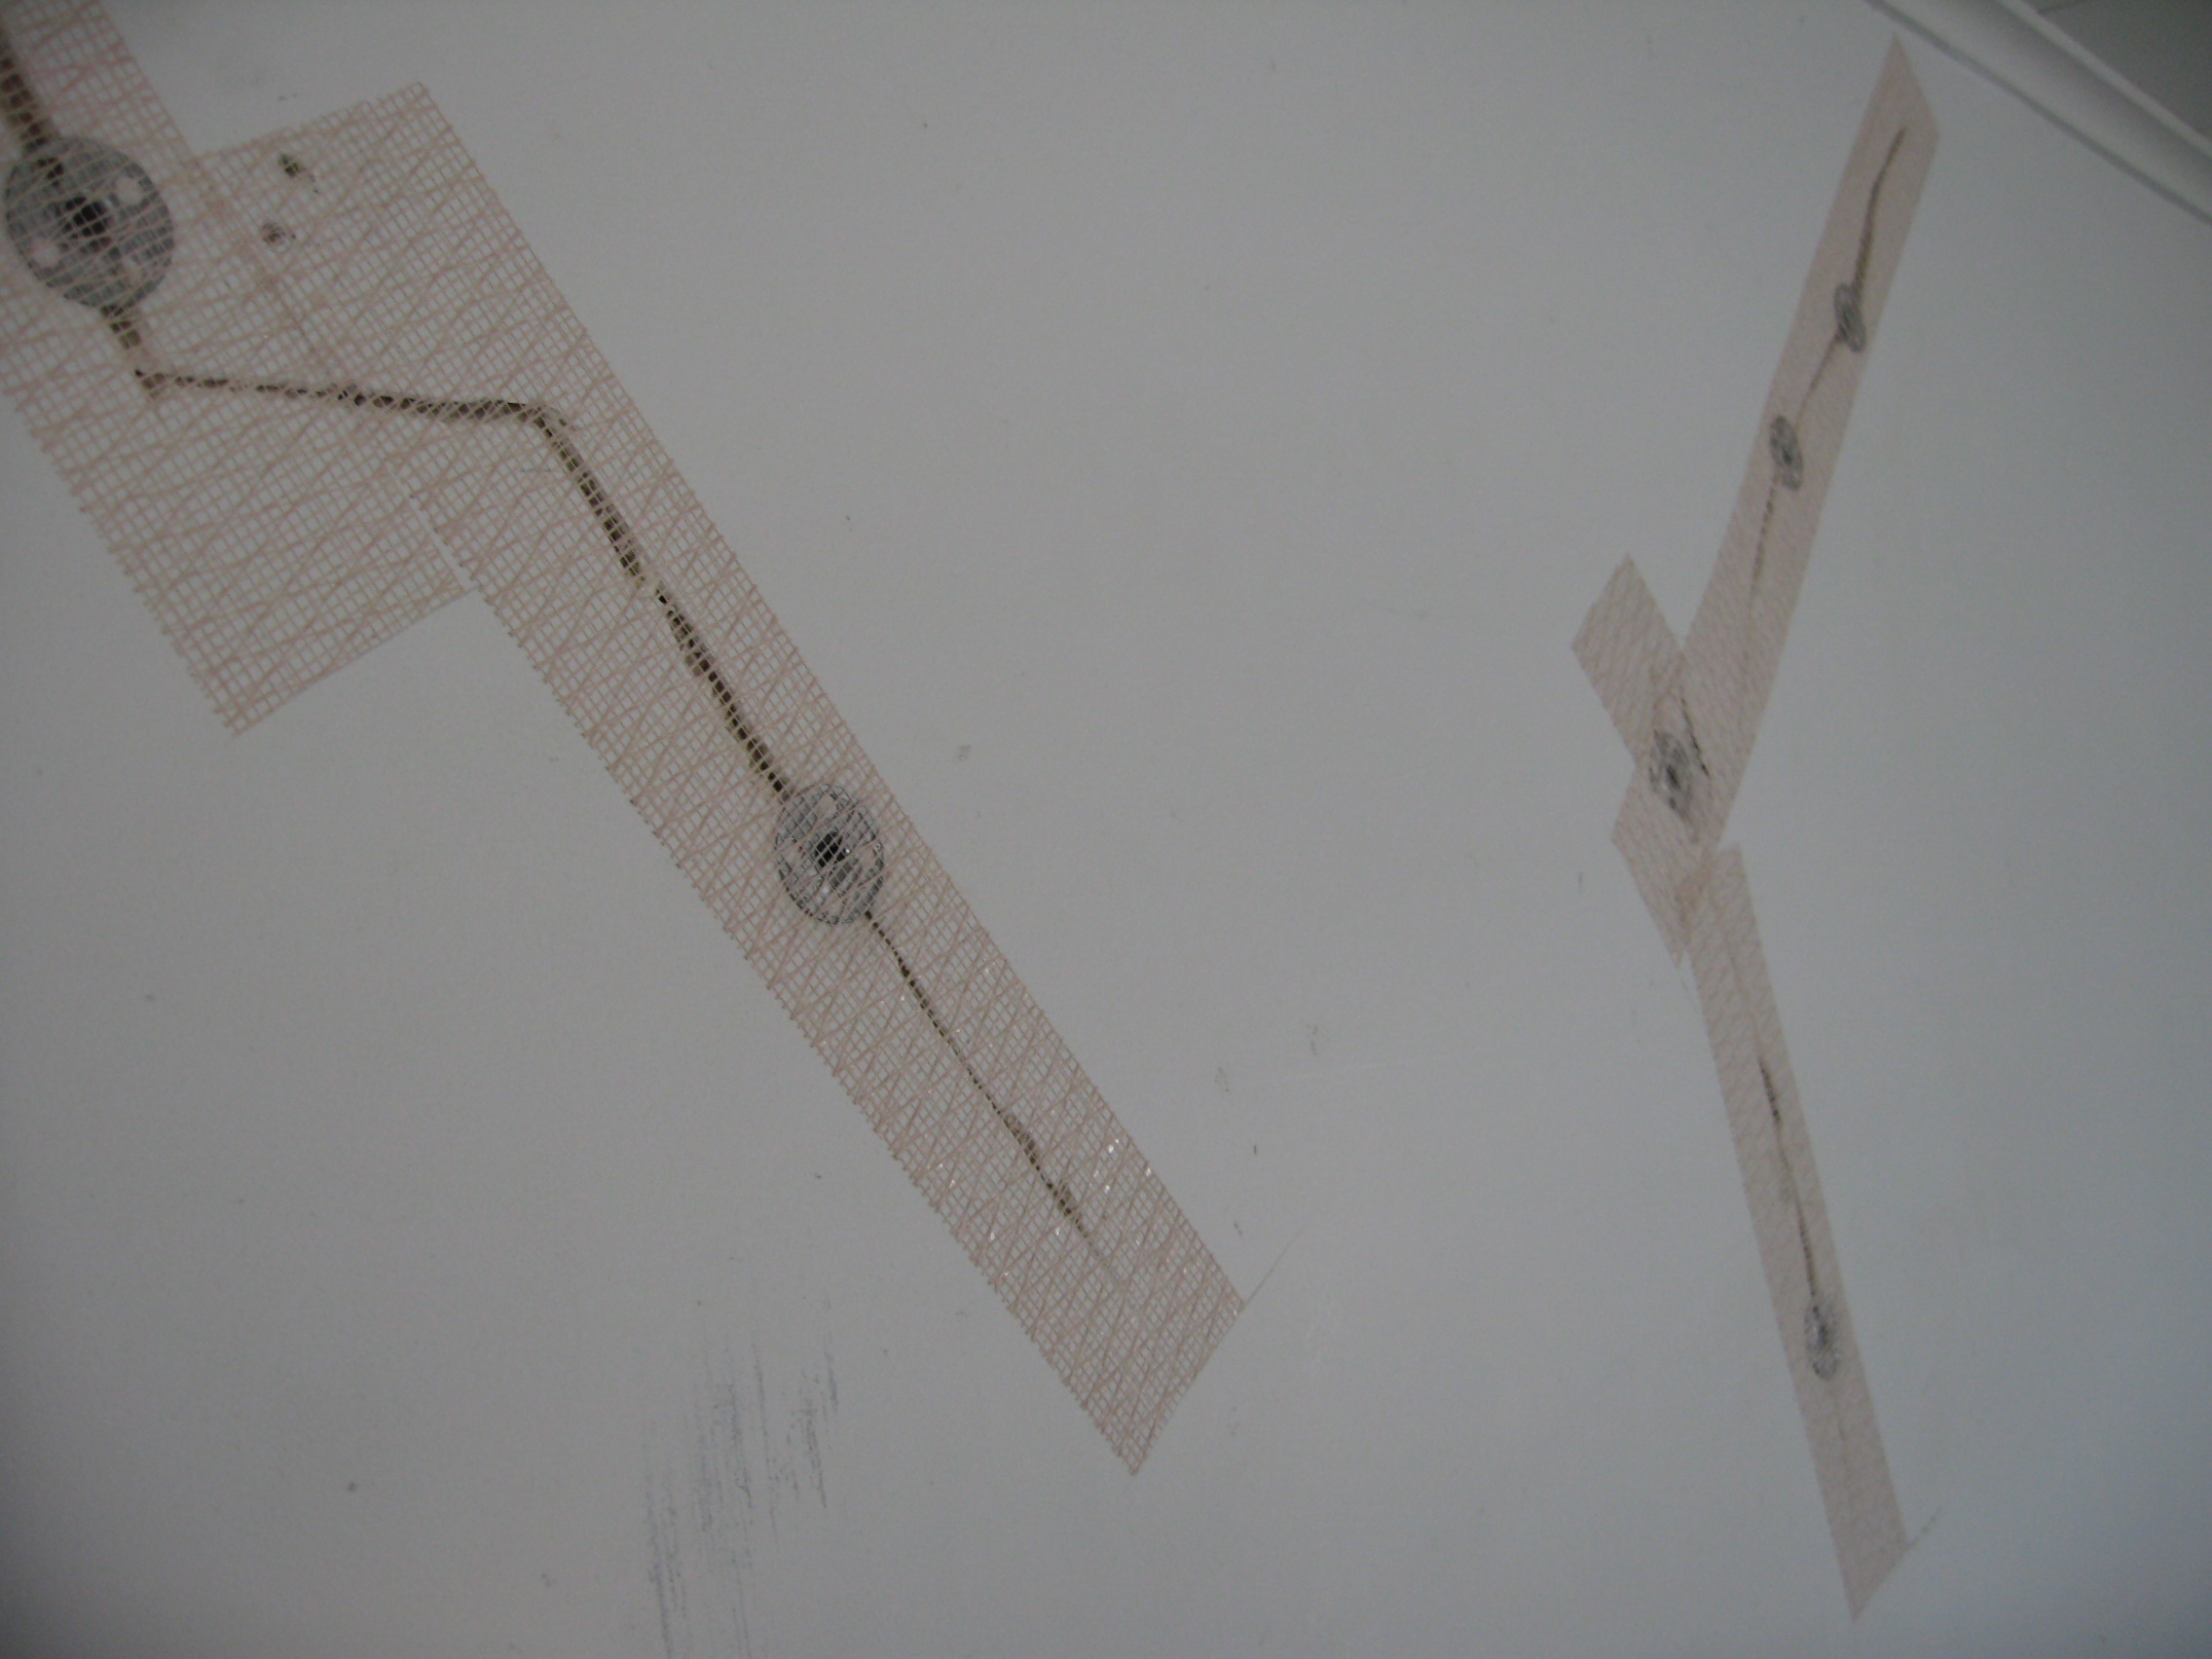
Loose plaster is tightened with plaster washers, loose material is removed from cracks, and mesh tape is put over cracks and damaged plaster for extra reinforcement.
Fill cracks, fill in uneven areas and blend in repairs with a setting compound
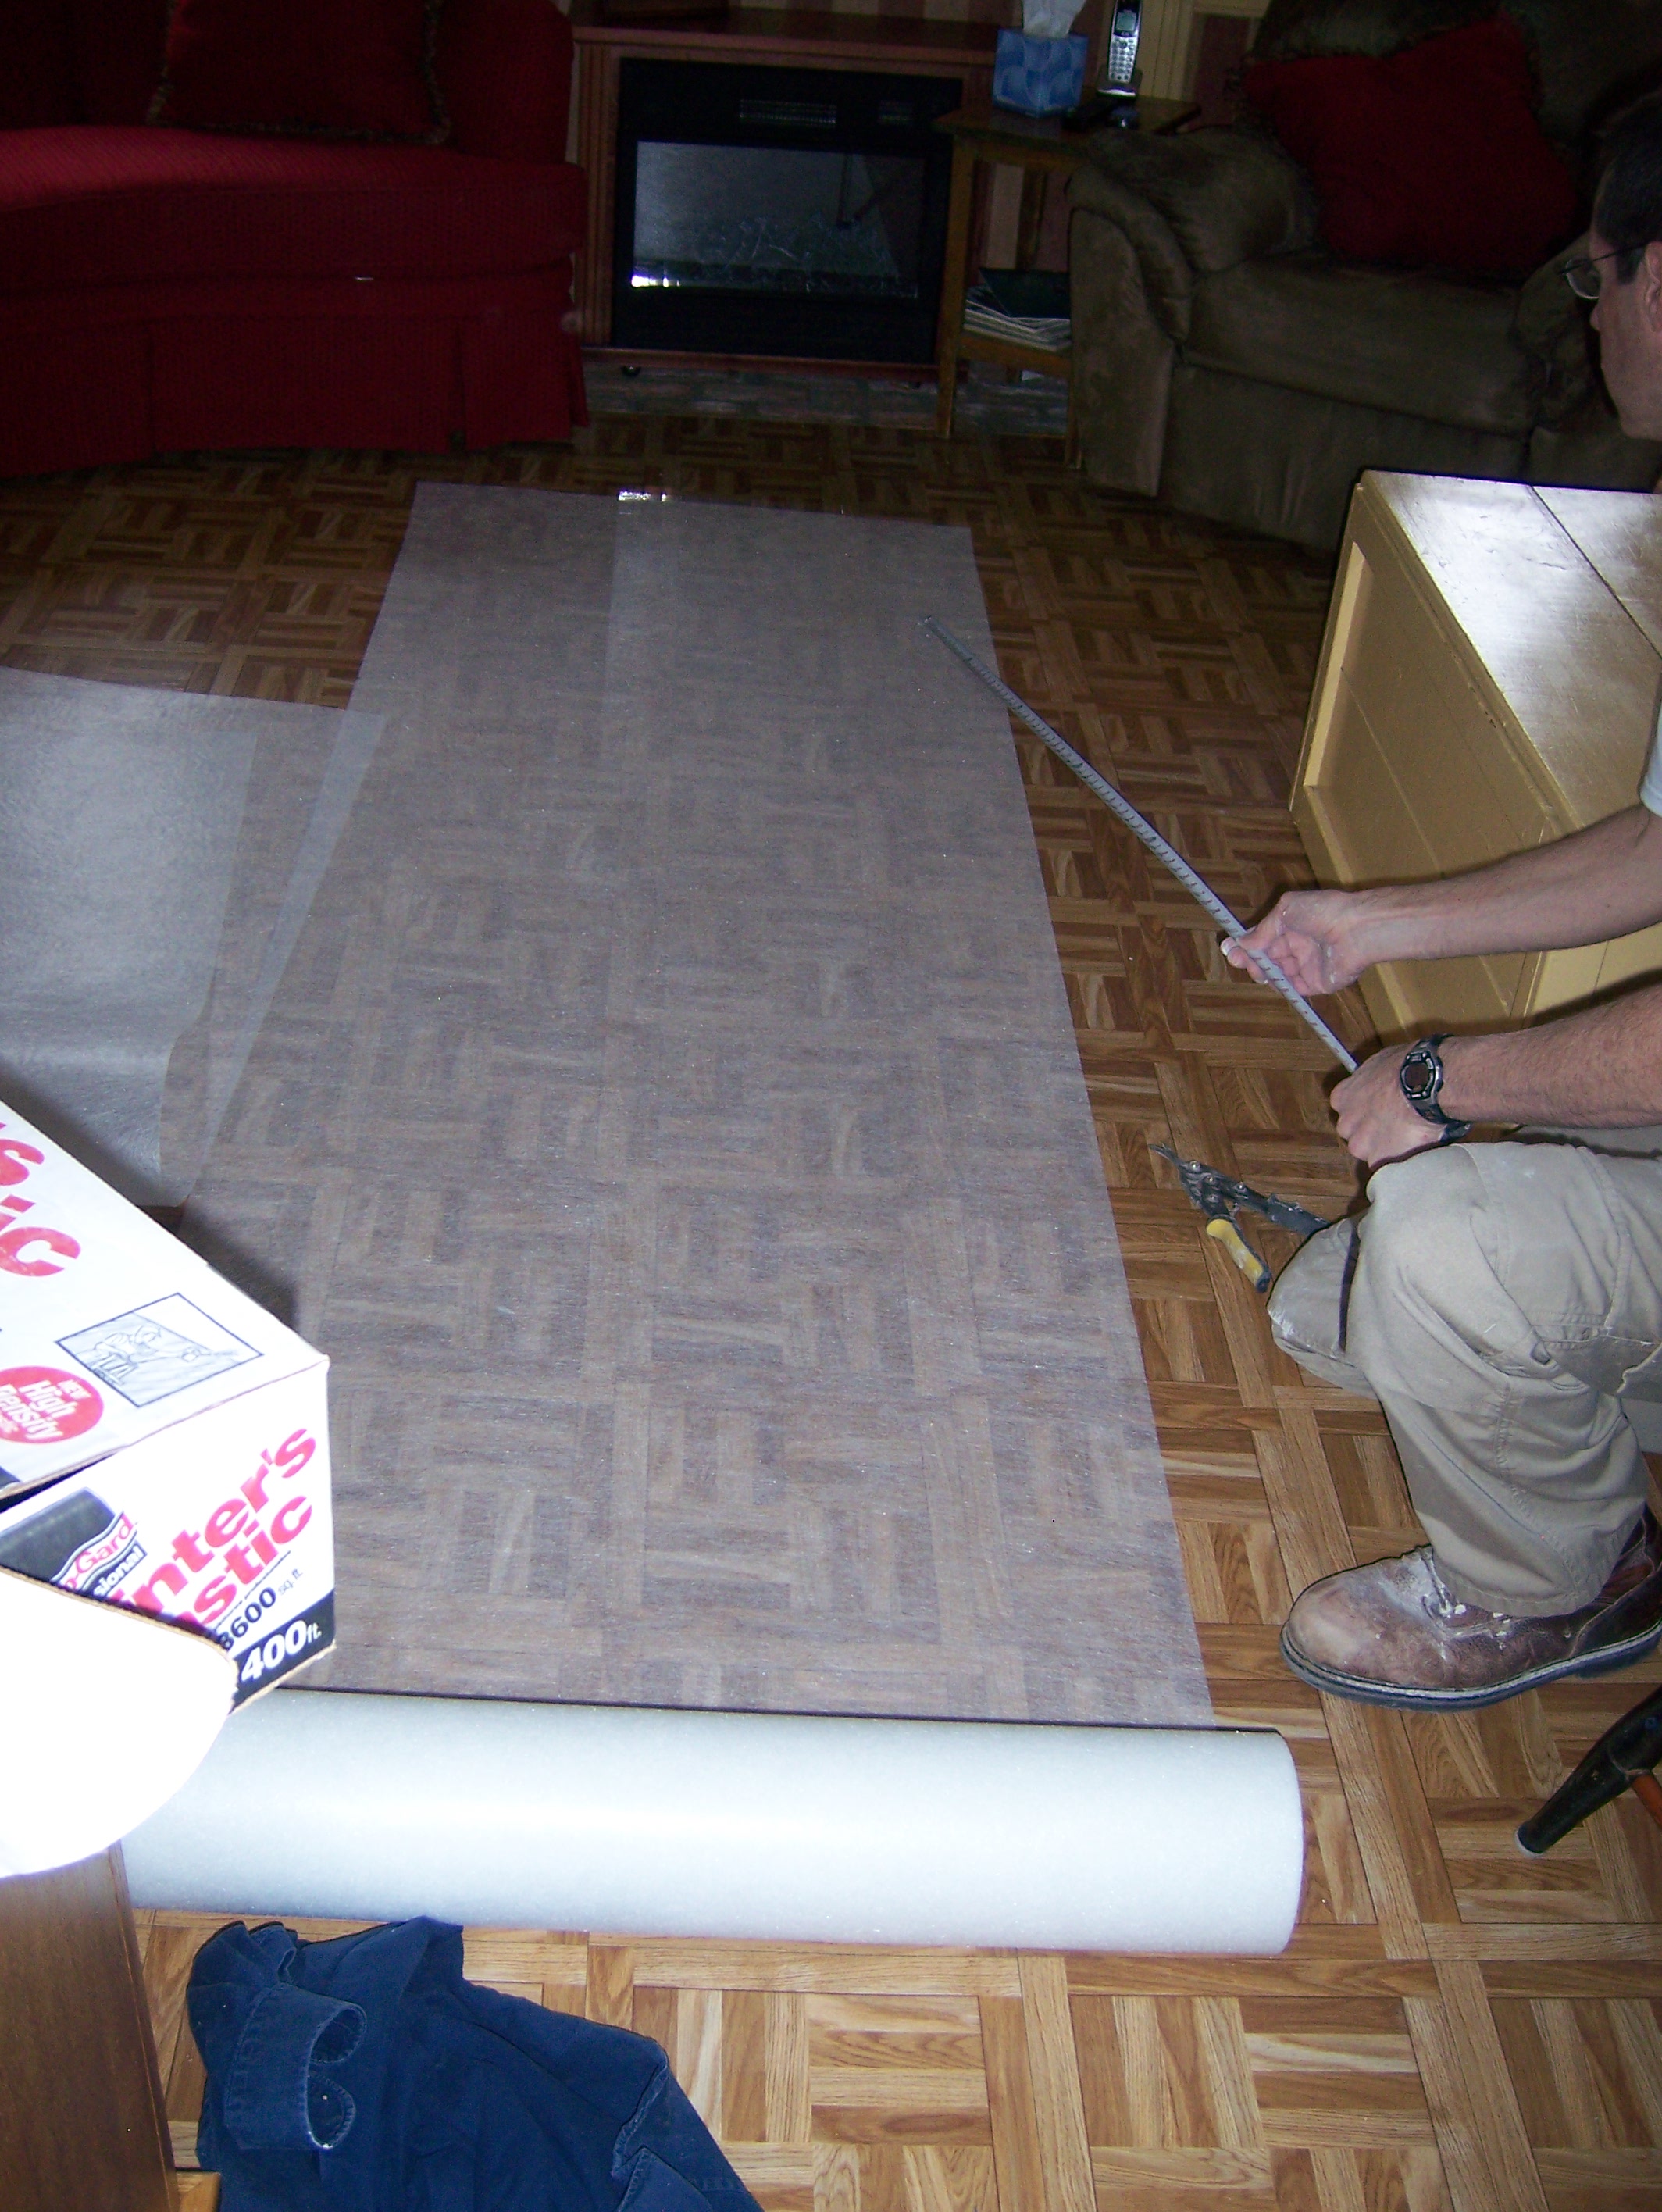
Roll out the fibafuse wall reinforcement and cut to desired length. (usually just a little longer than actual surface measurement
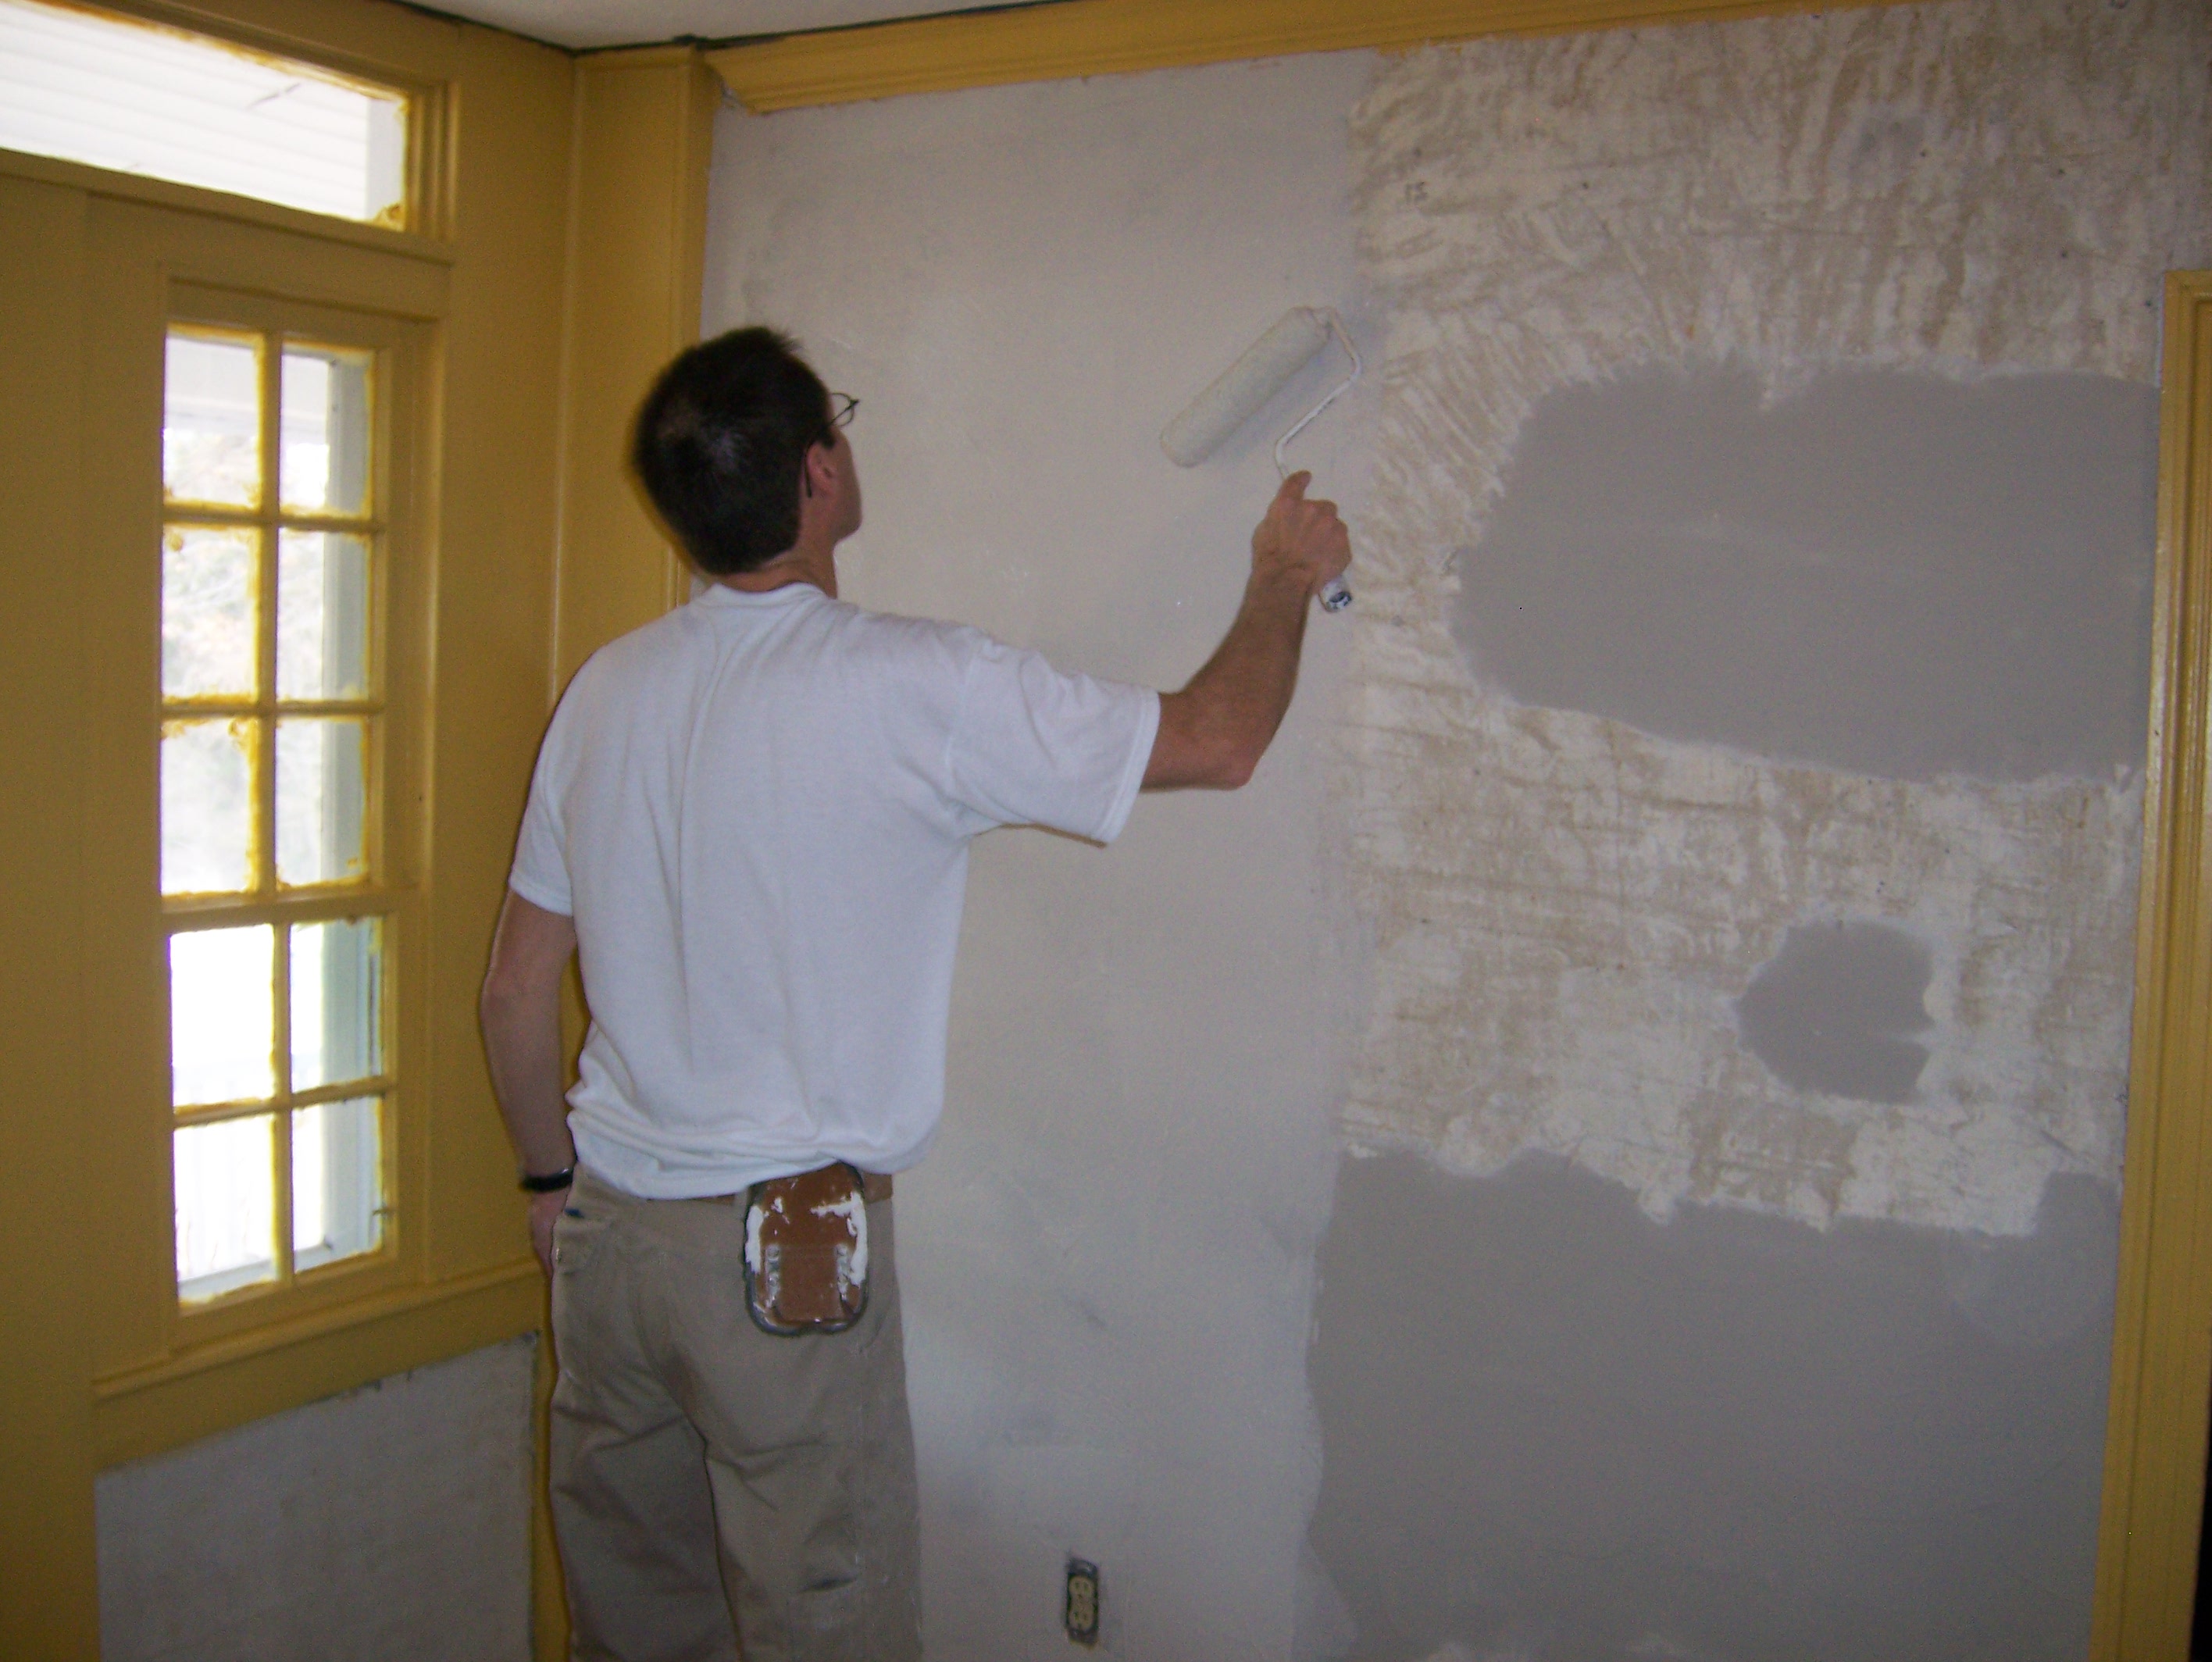
The all purpose compound is thinned down slightly with water and applied to the wall or ceiling with a paint roller. Apply a thin even coat less than an eighth of an inch thick

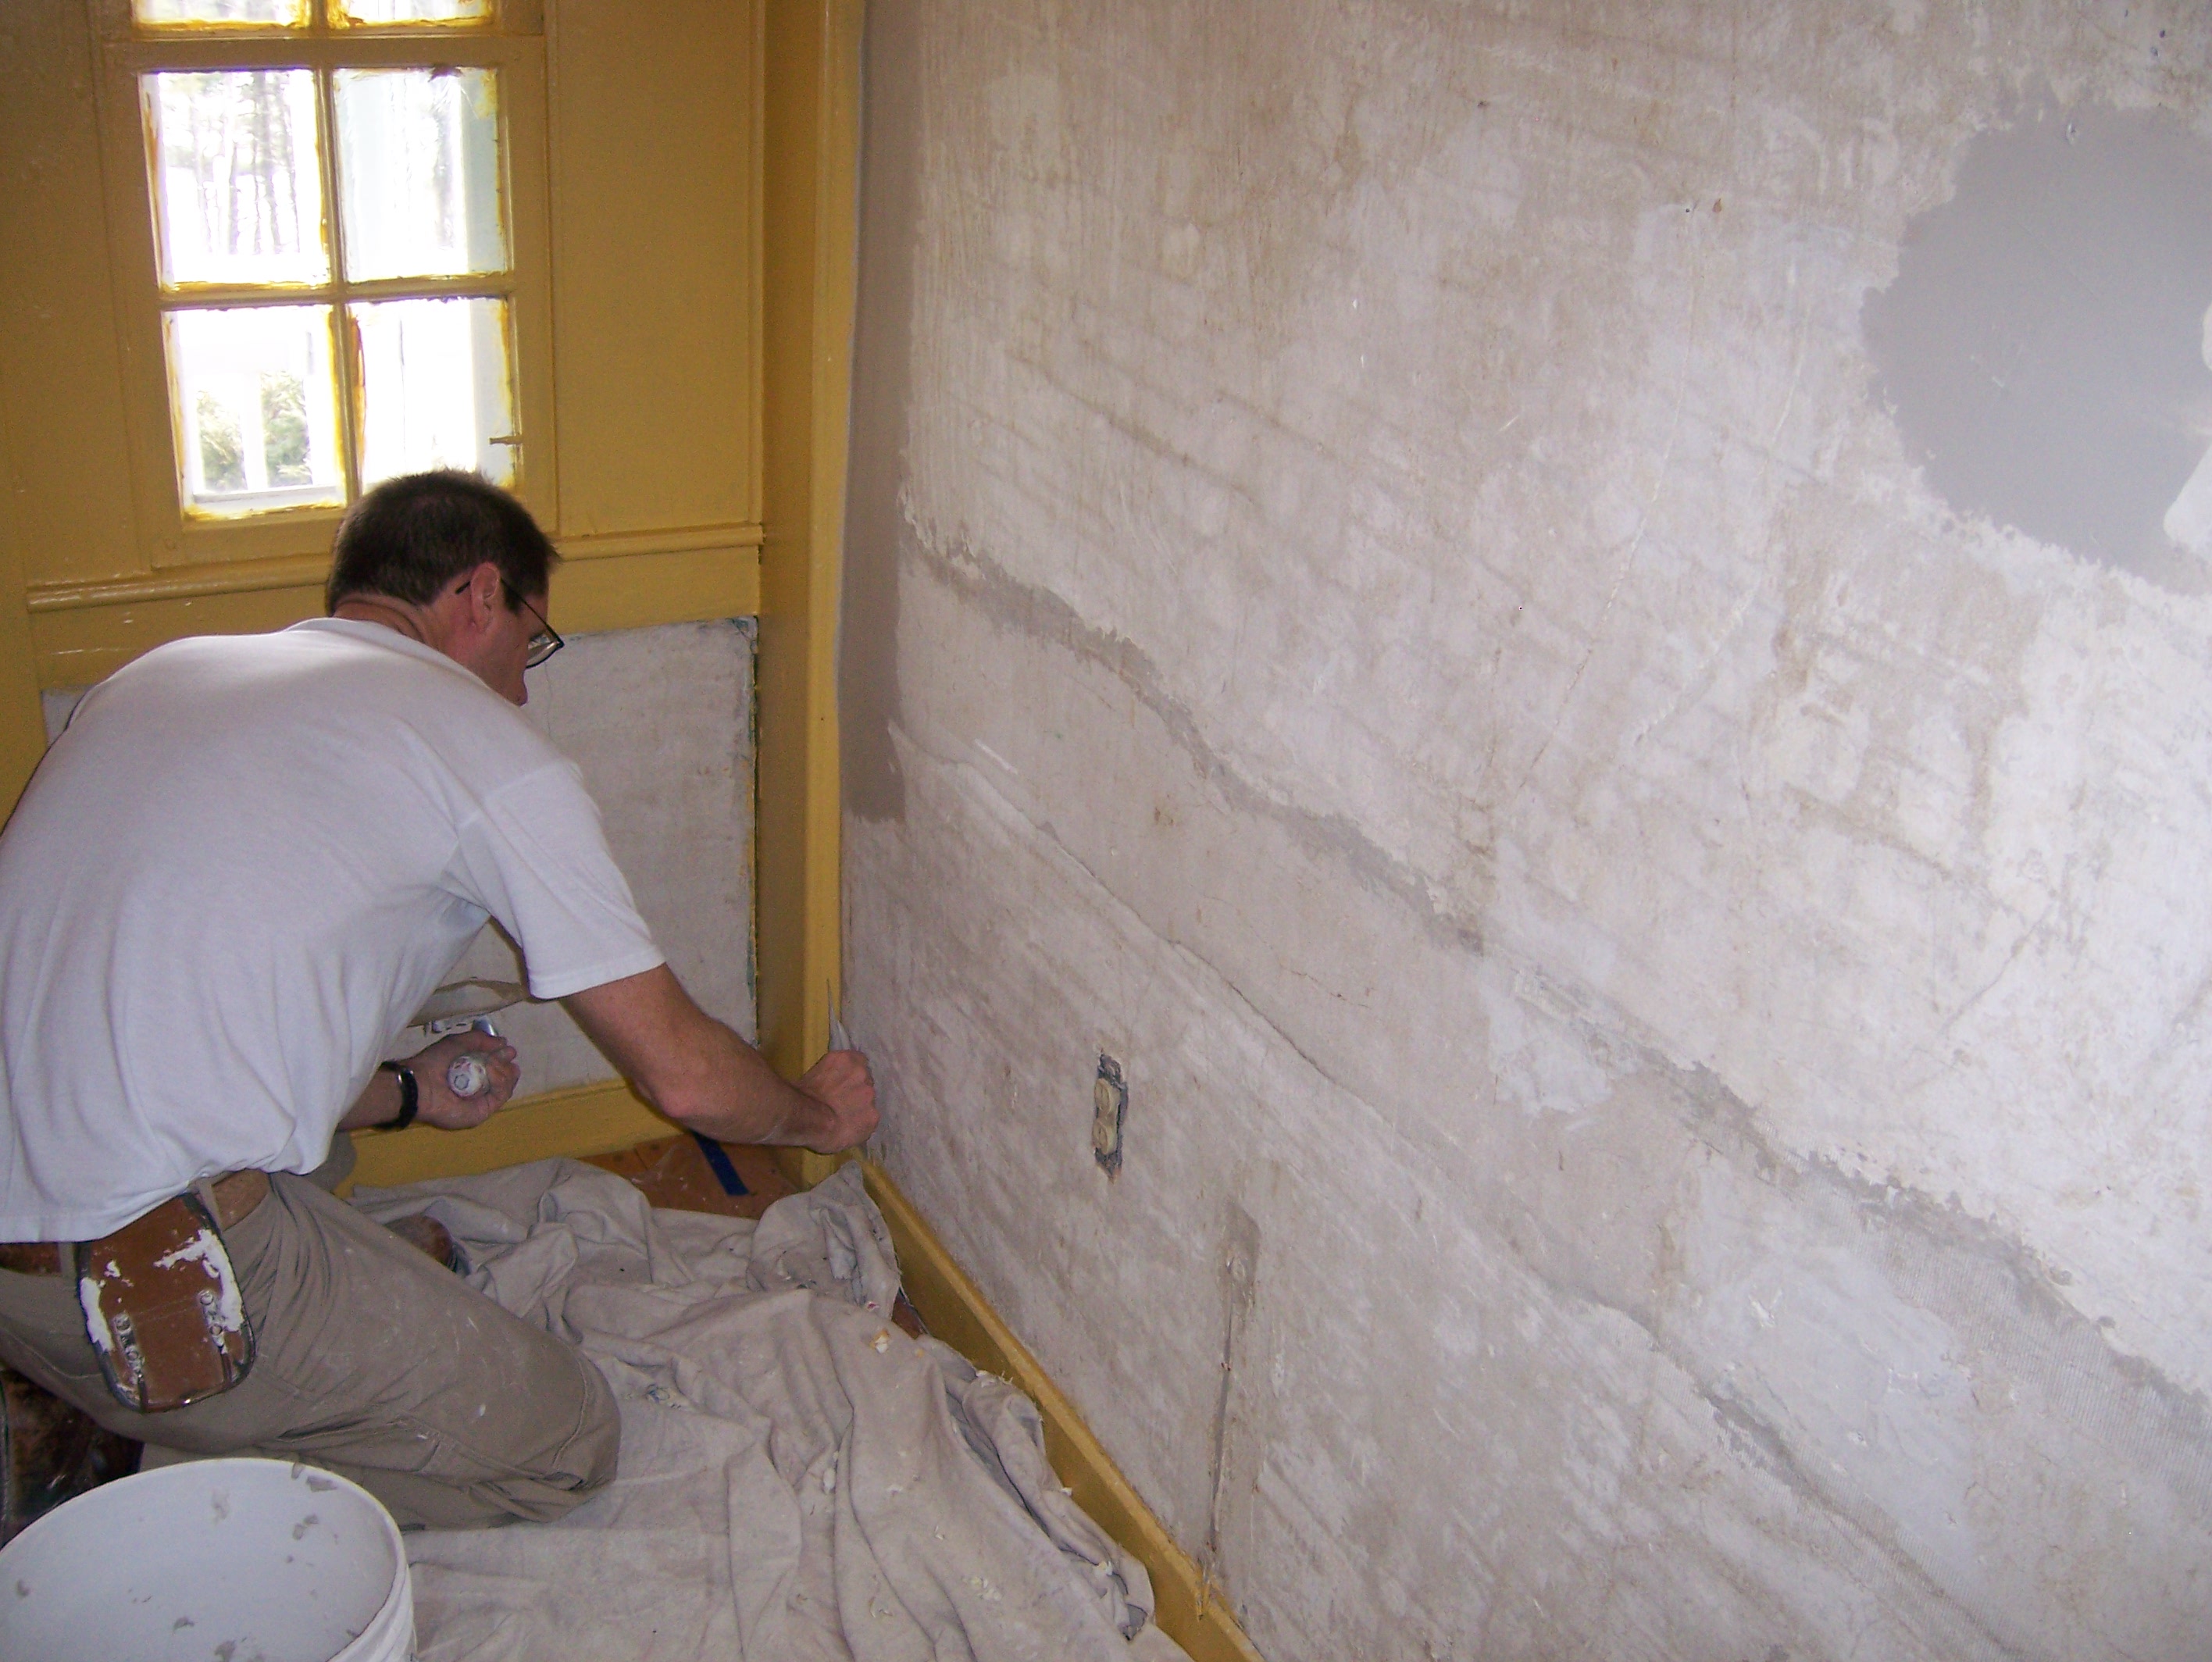
Position the fibafuse on the wall in a similar manor to hanging wallpaper
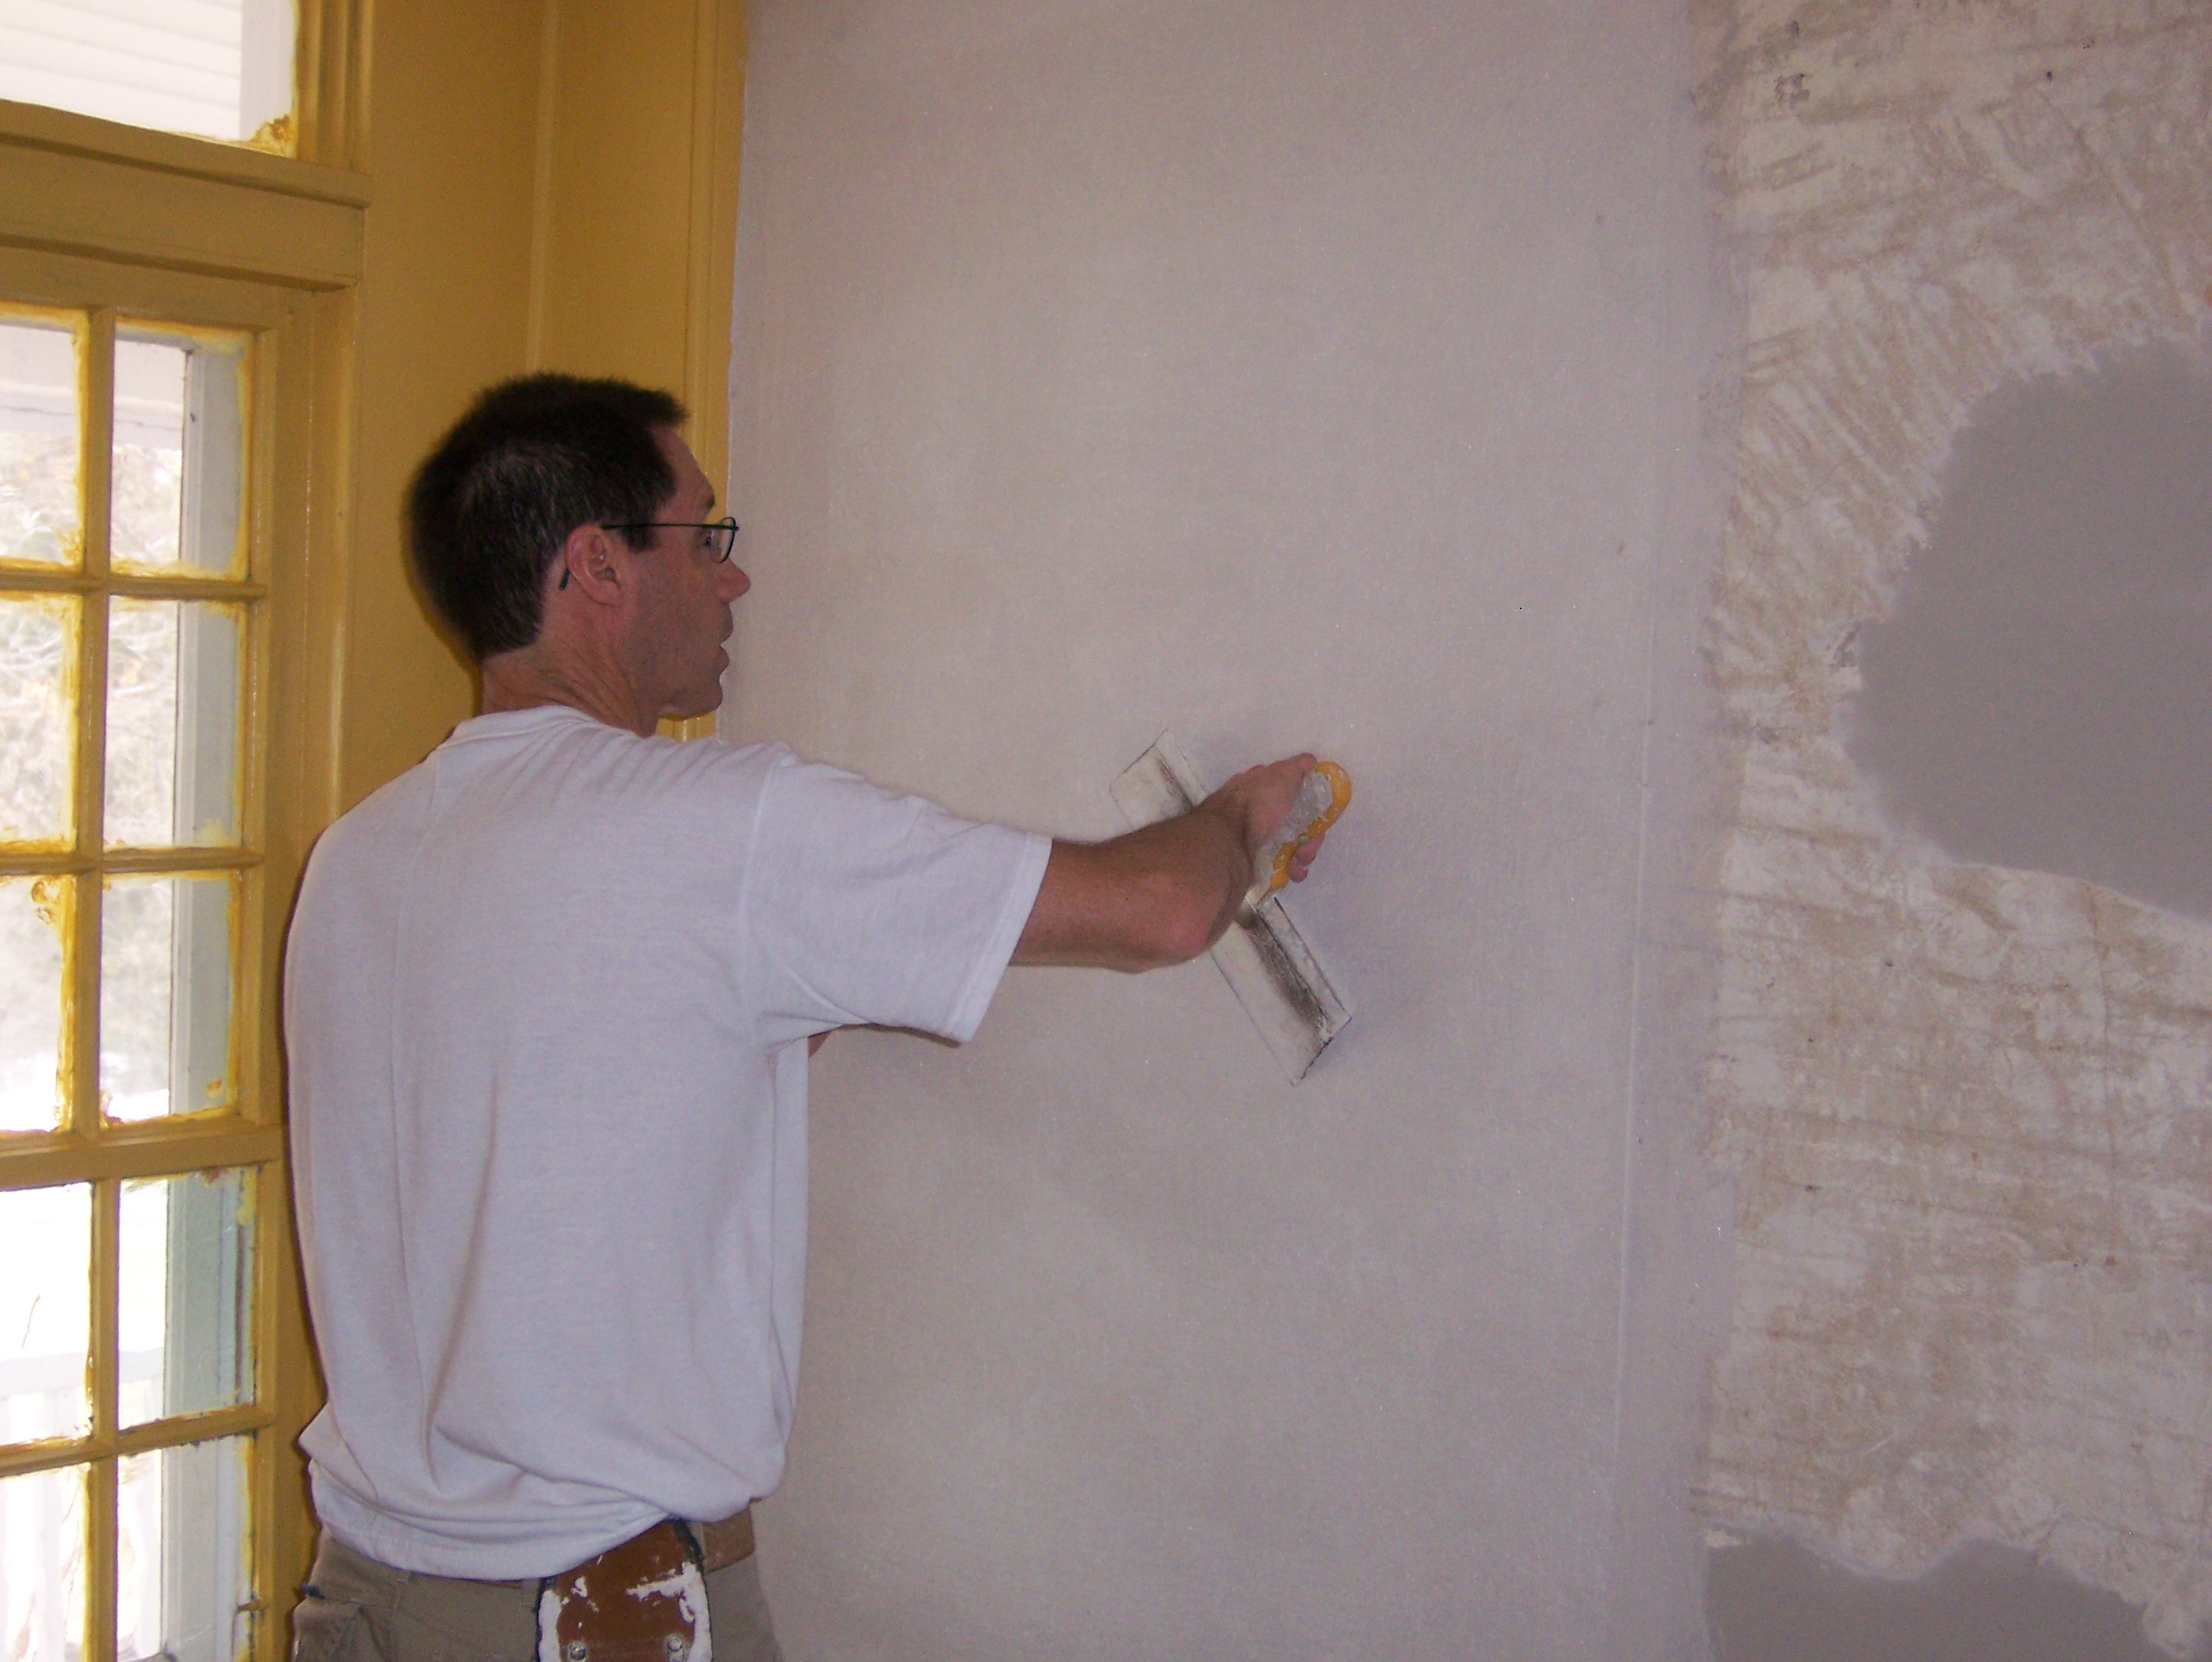
Instead of pressing the mat in with a brush a wide taping knife is used. Work from the center toward the edges. The excess can easily be cut with the edge of the taping knife.
Right after embedding the fibafuse a skim coat of the same compound is applied either with the roller of taping knife. This compound is worked into the mat and removed leaving just a thin skim coat over the fibafuse .This completes the embedding coat.
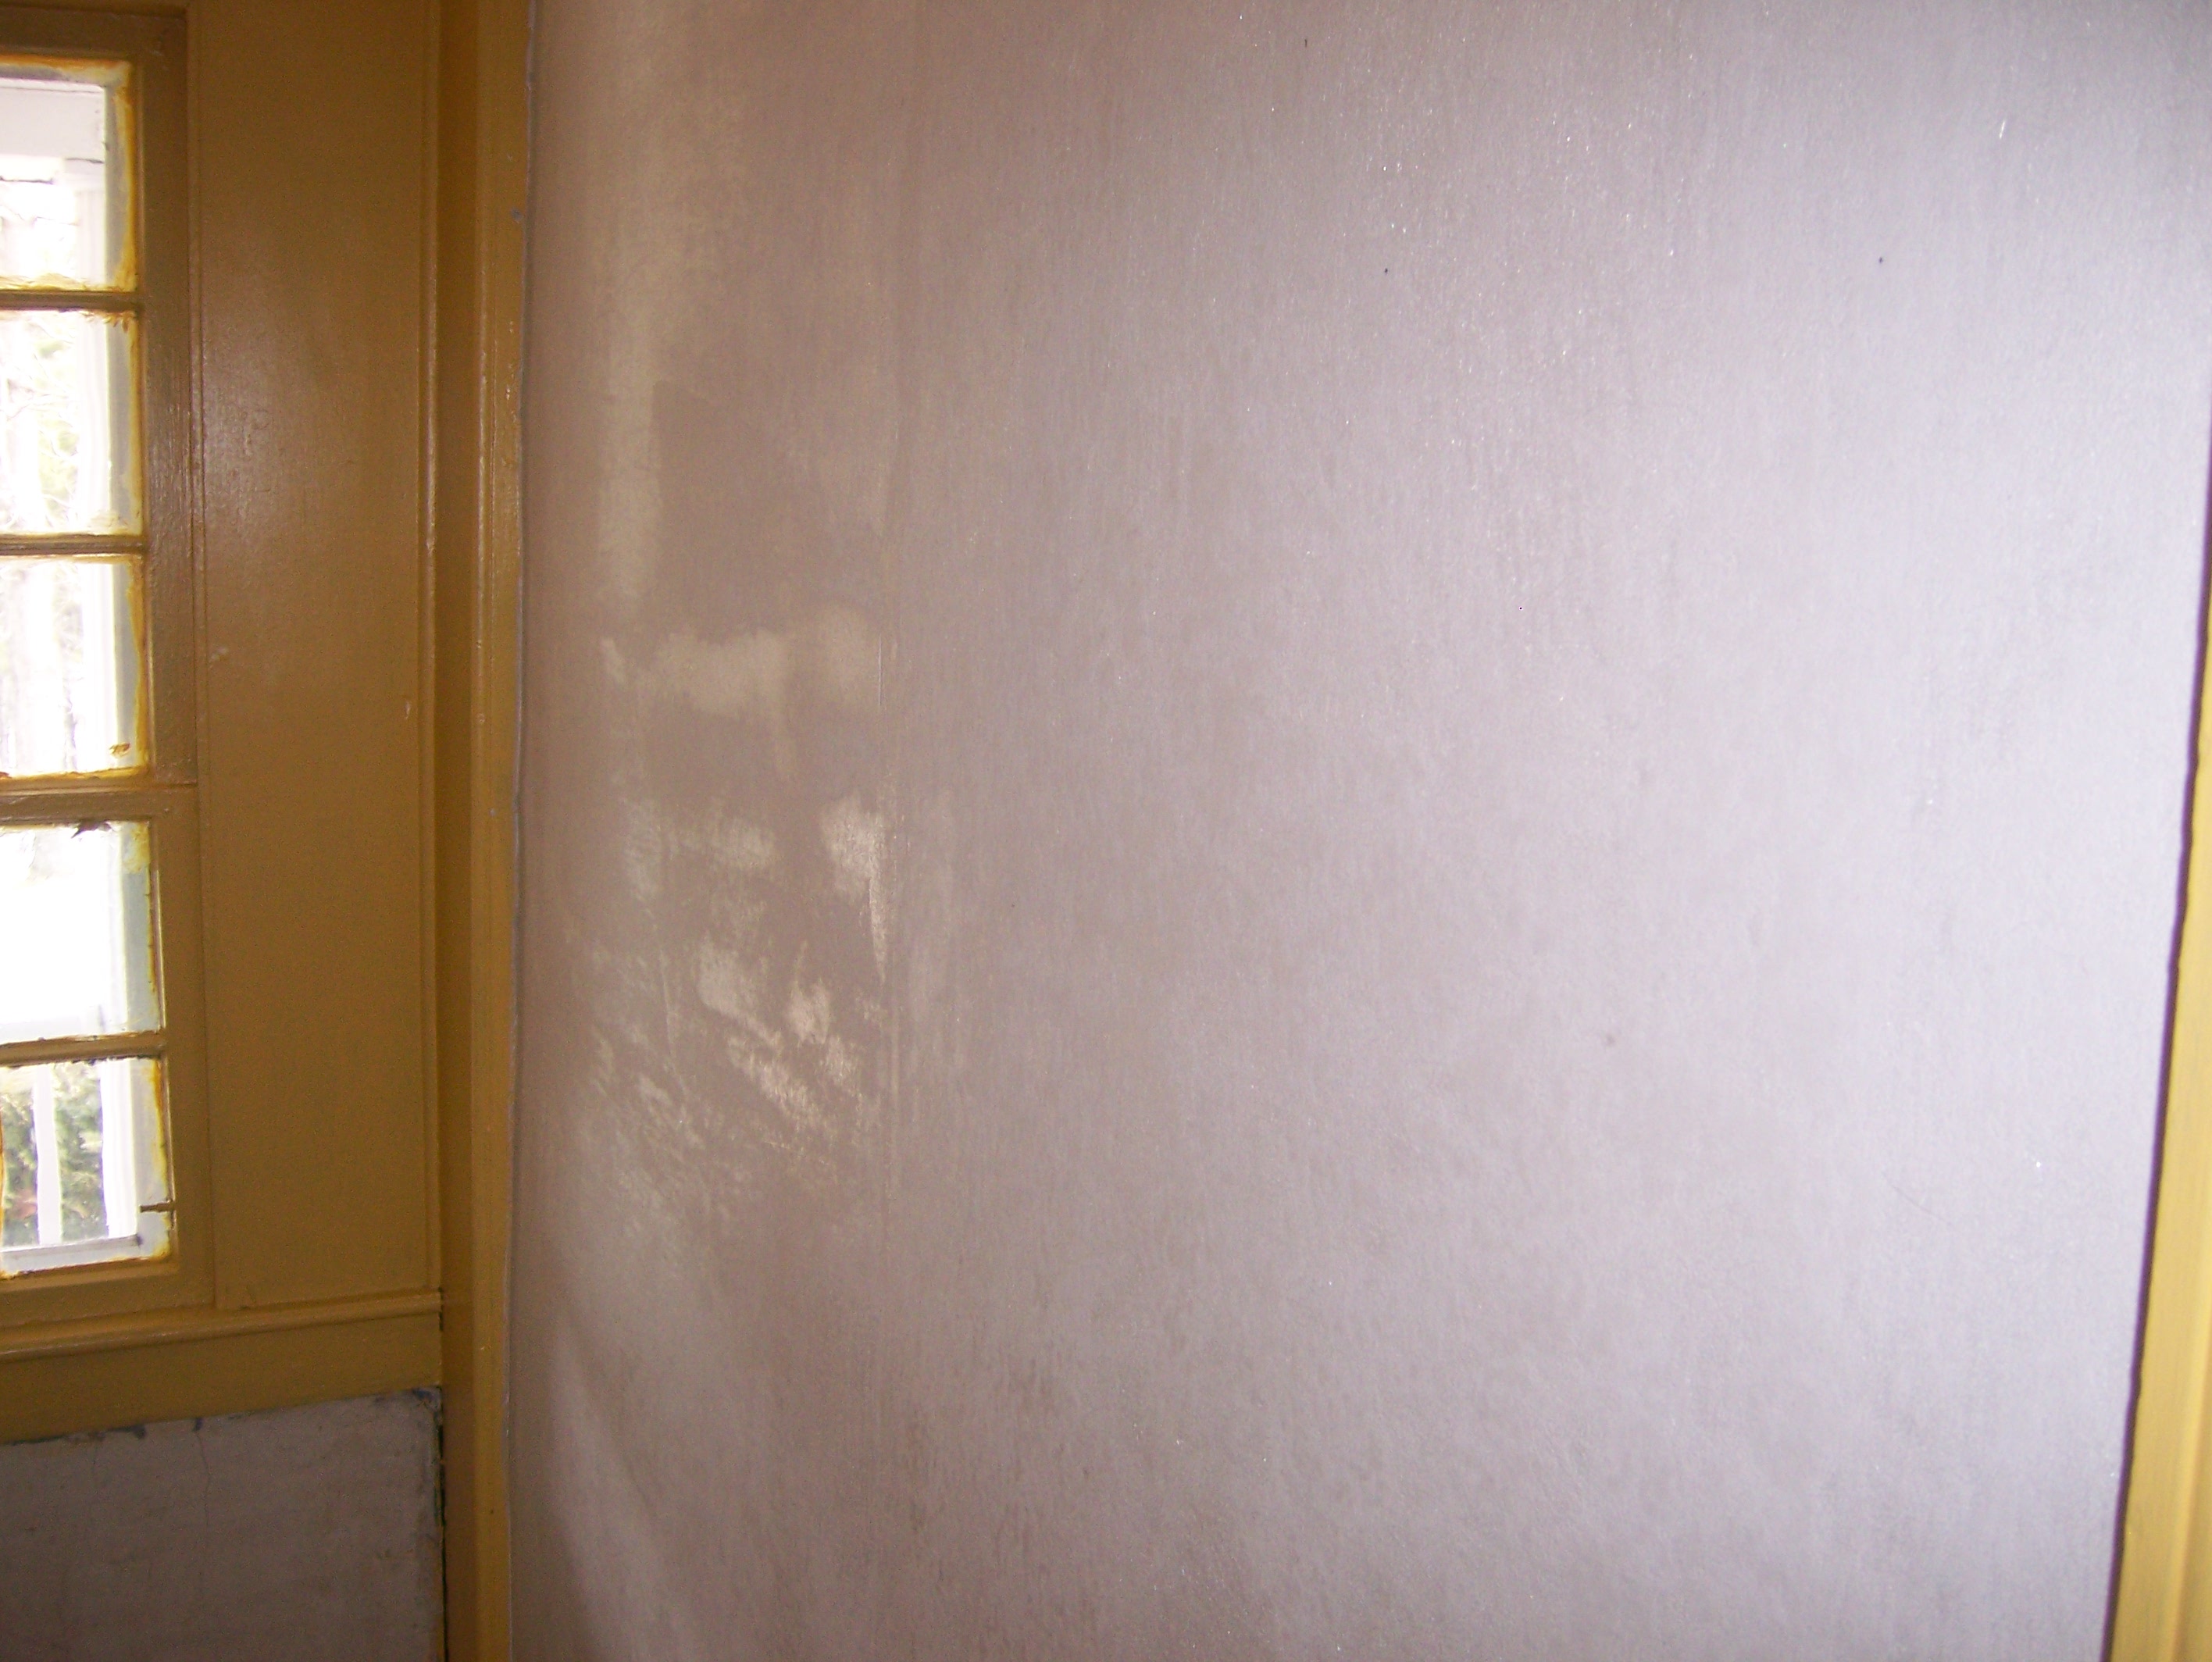
A dramatic change in the appearance of the wall. When the compound is dry the surface is lightly sanded and another thin skim coat of joint compound is applied.
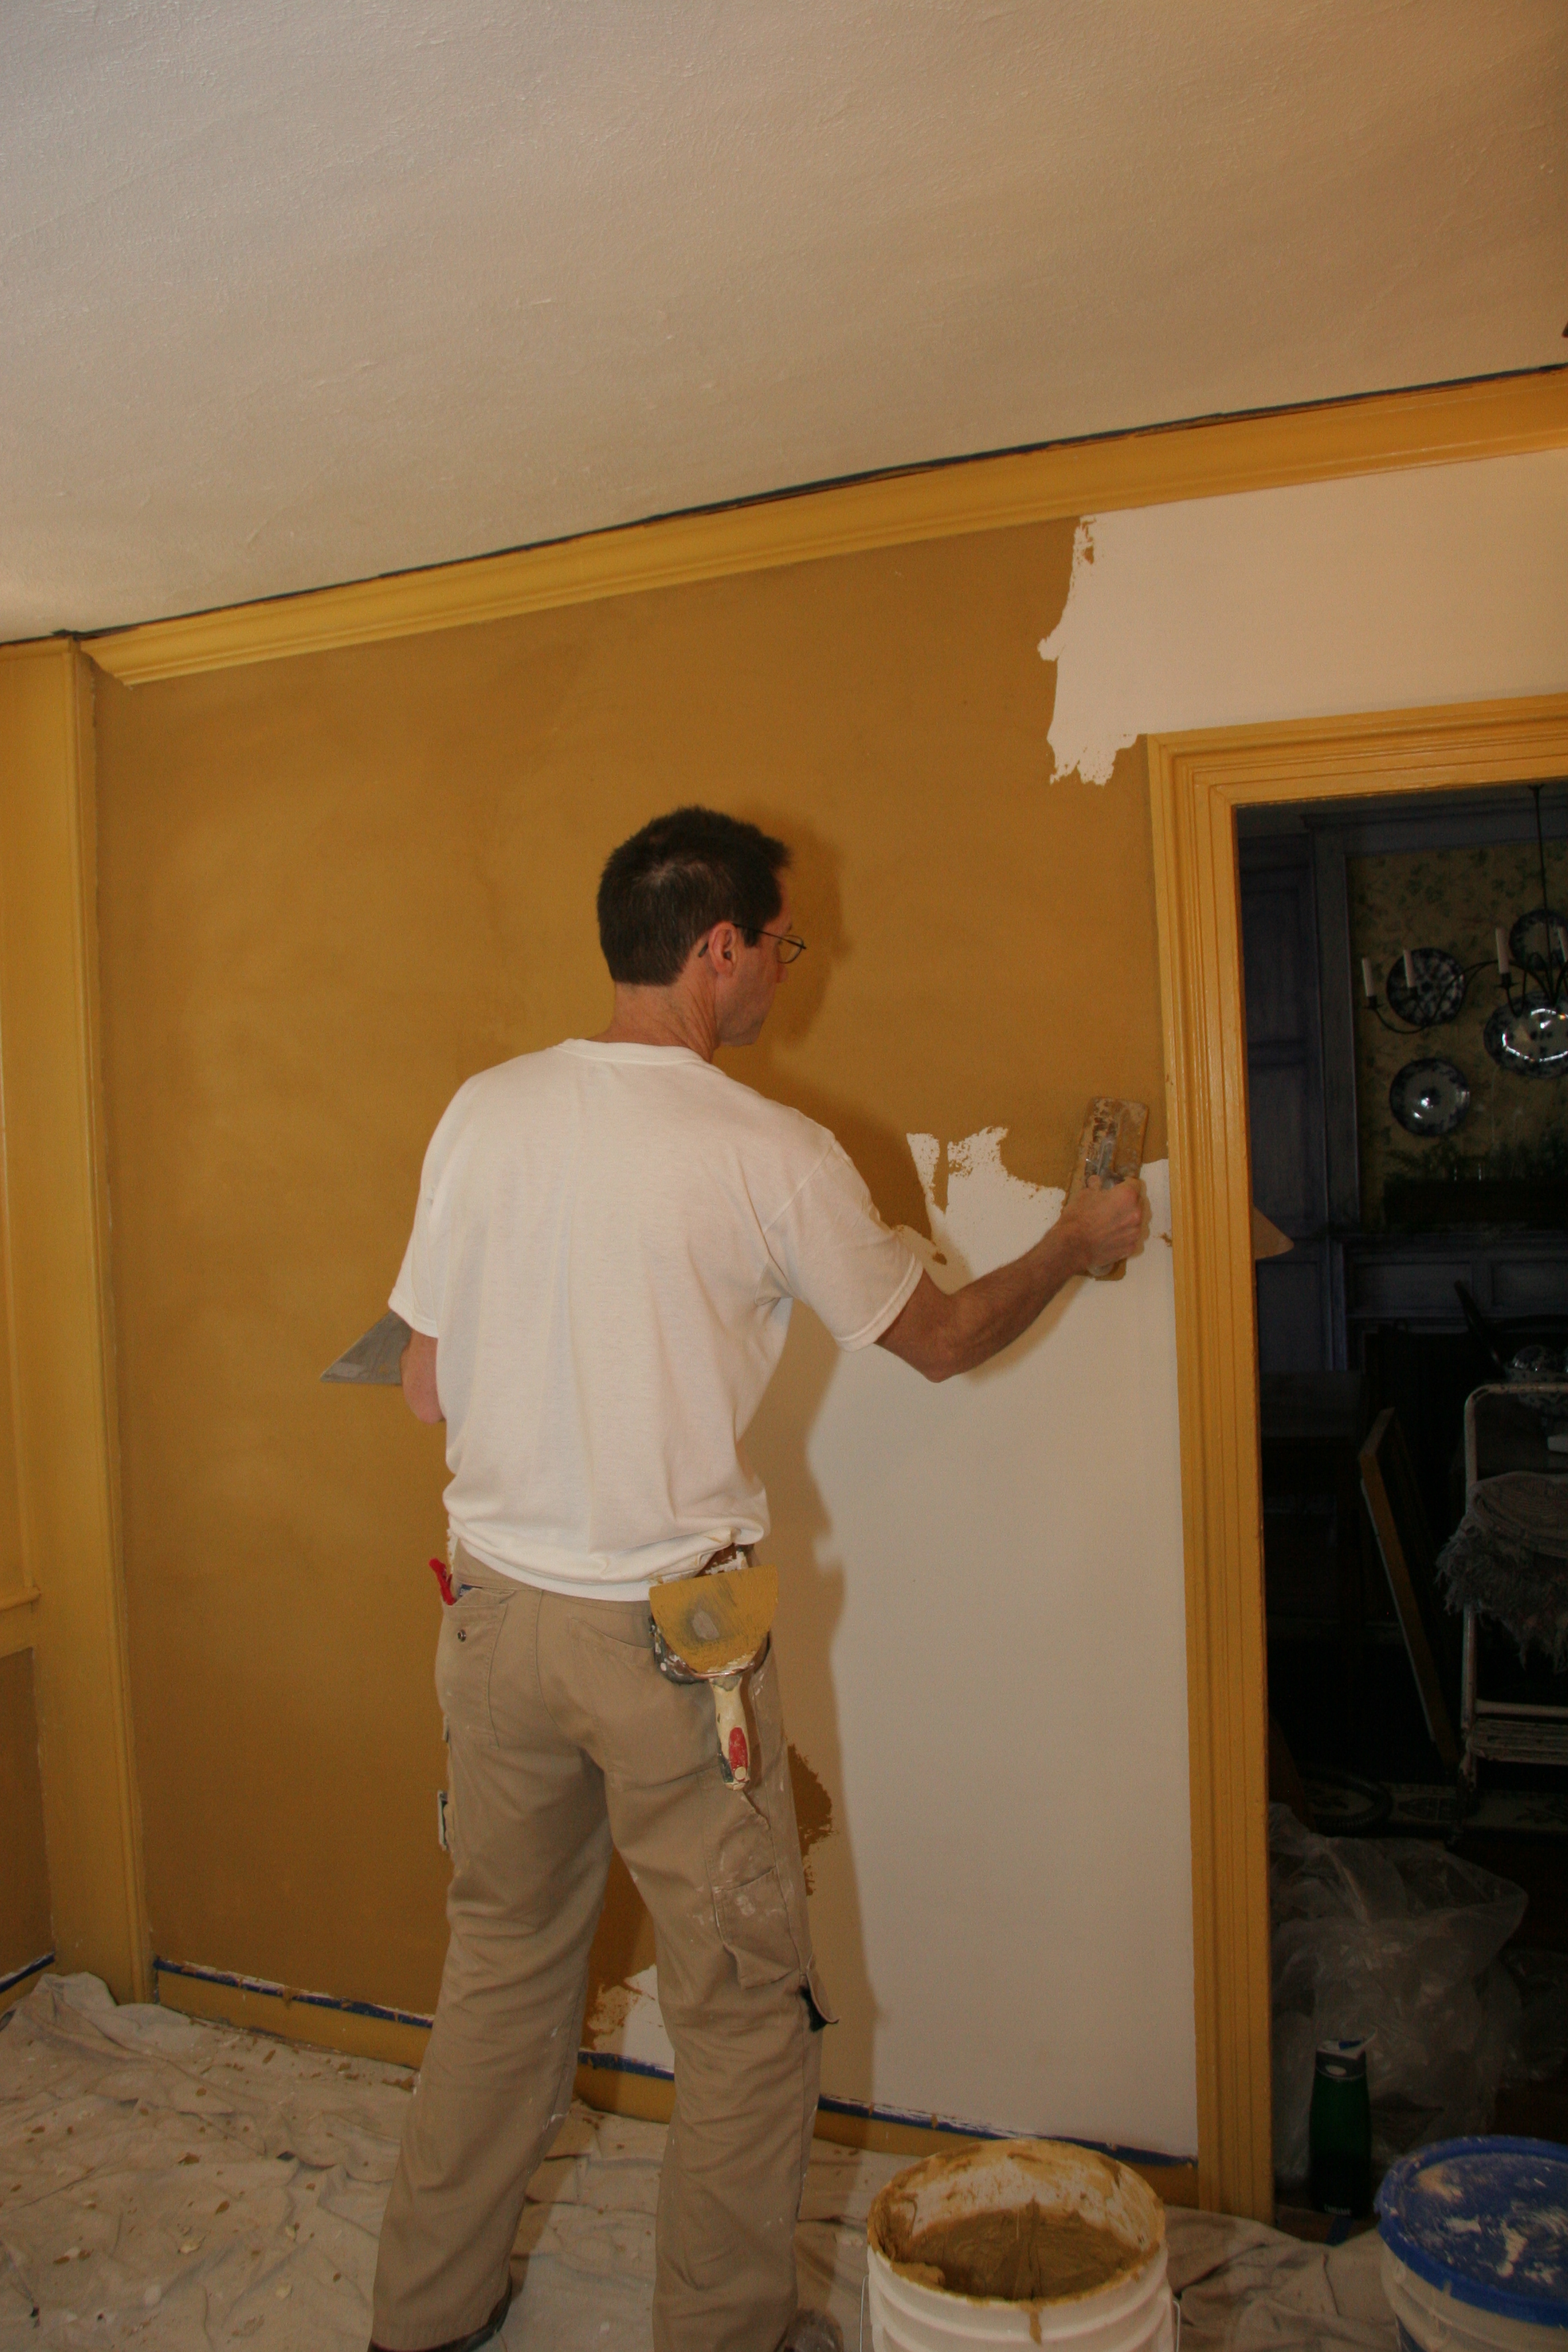
The restored plaster wall was then primed and in this photo a coat of decorative plaster is being applied.
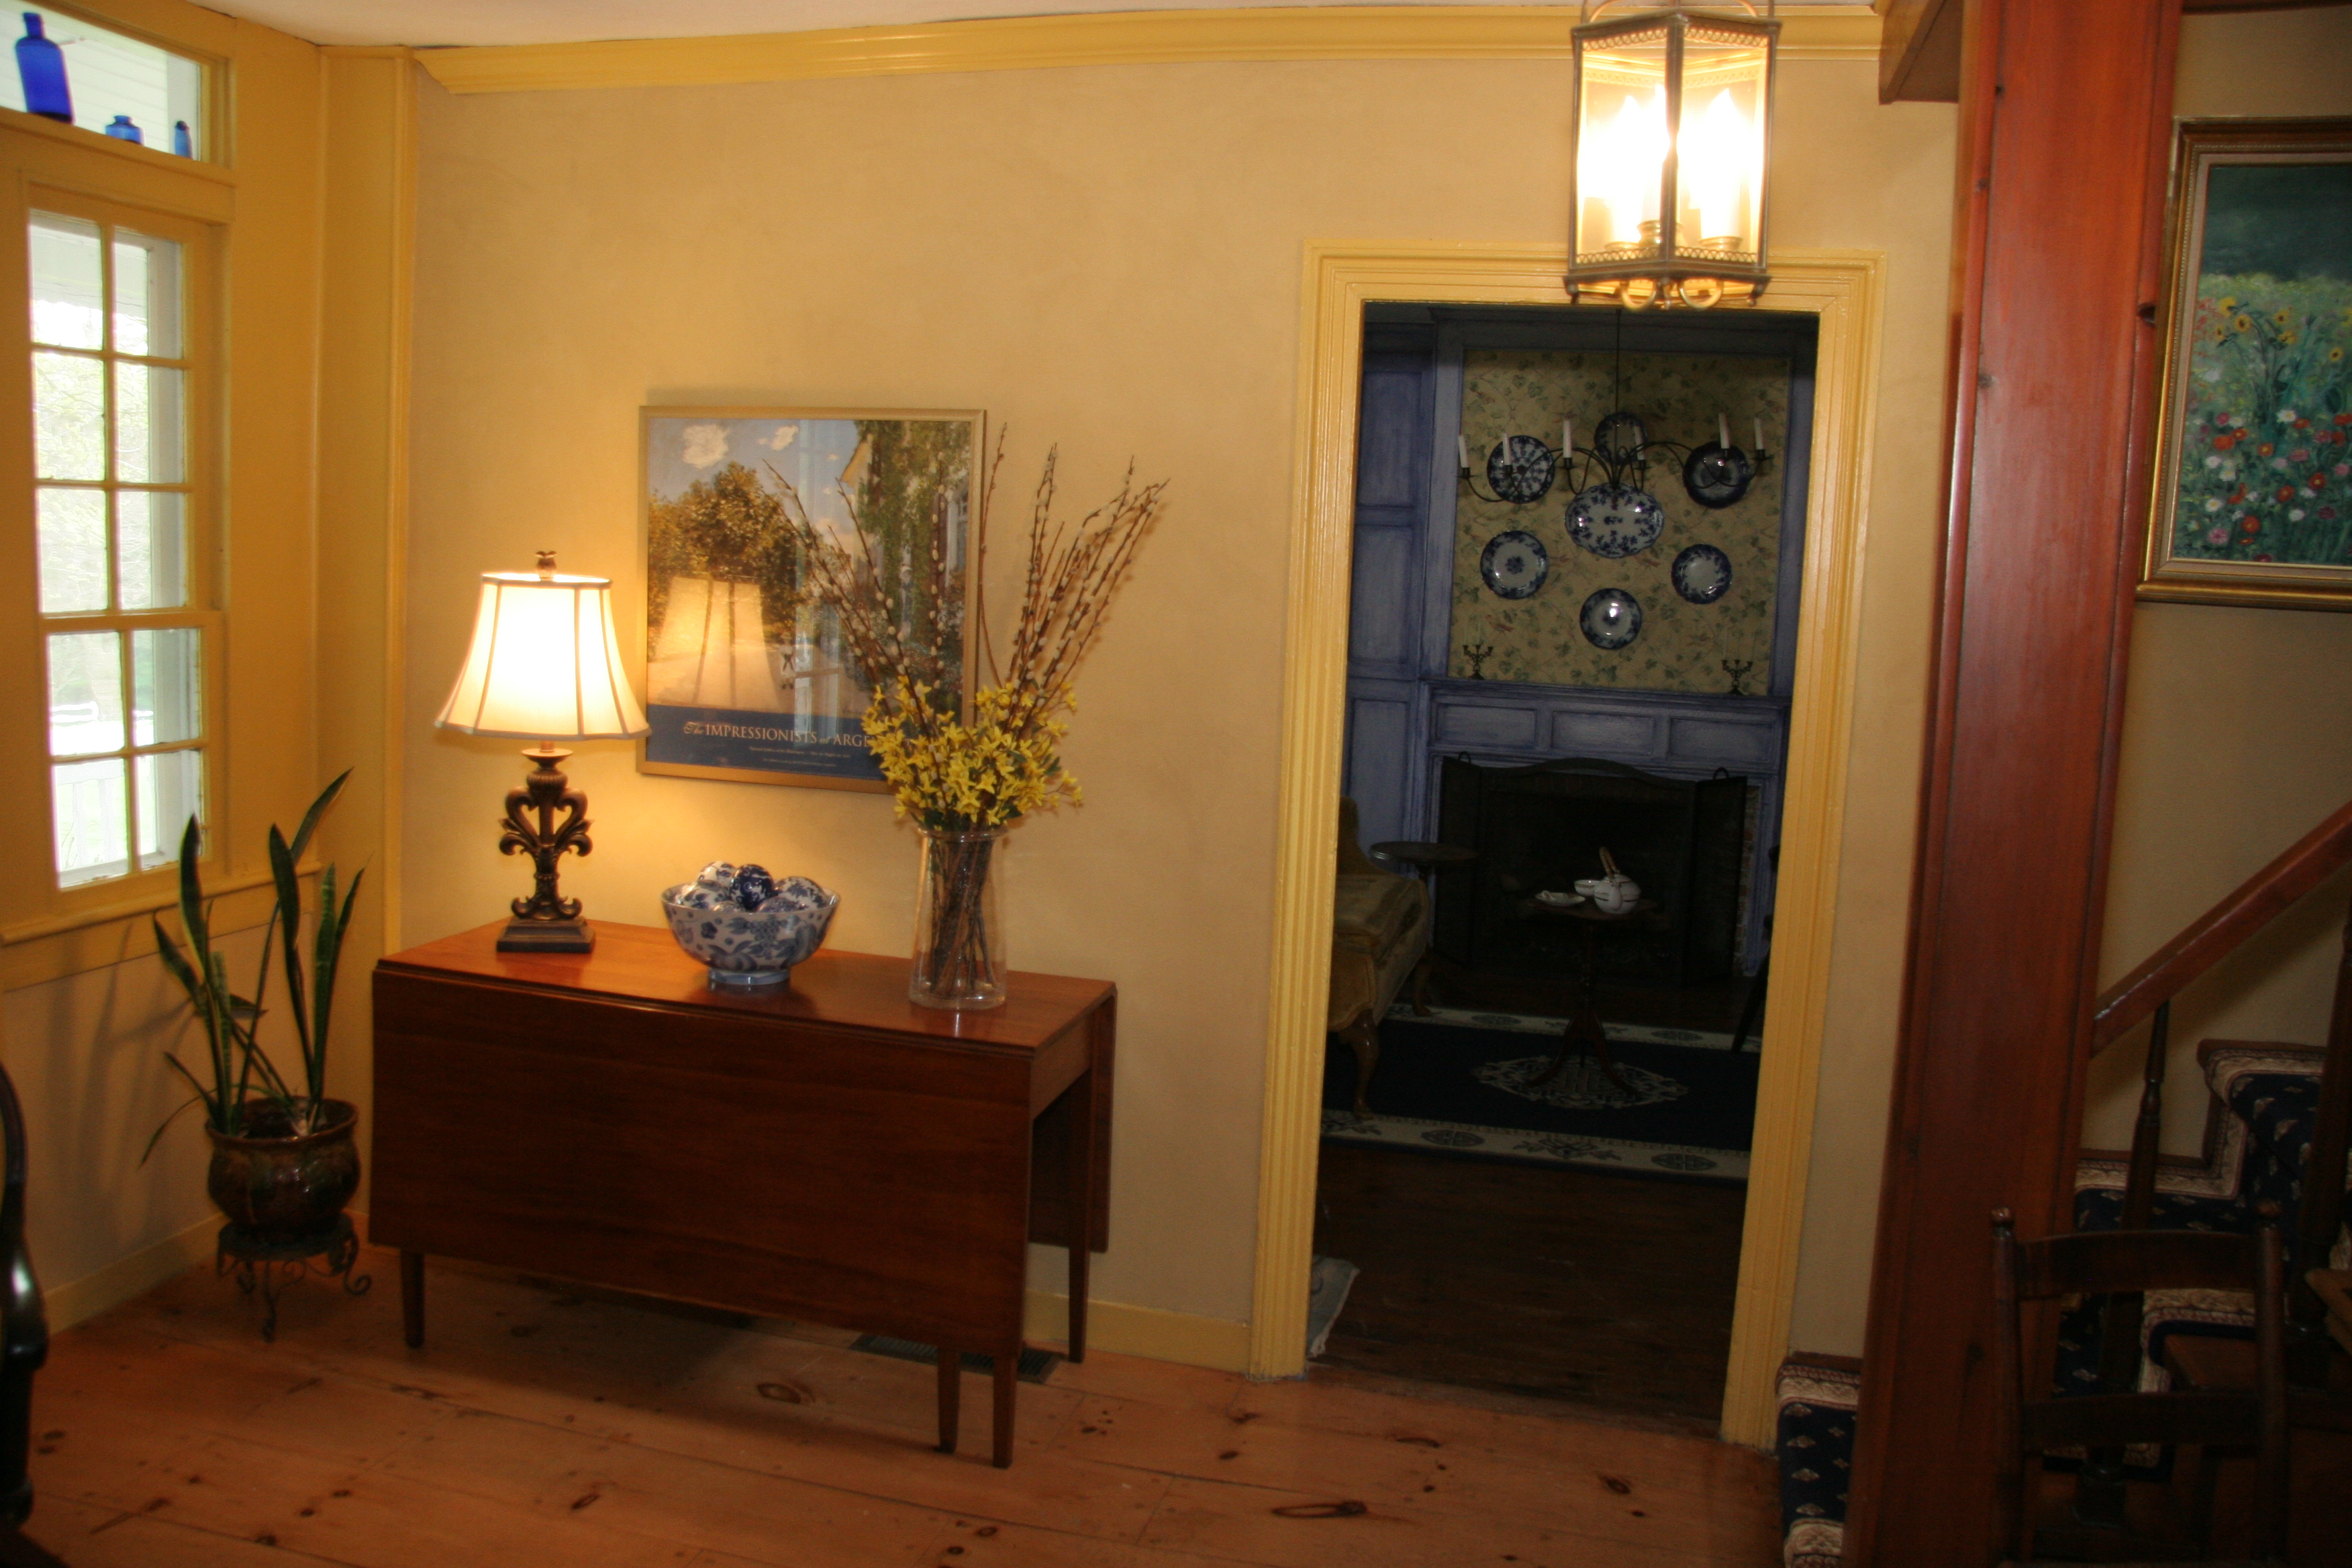
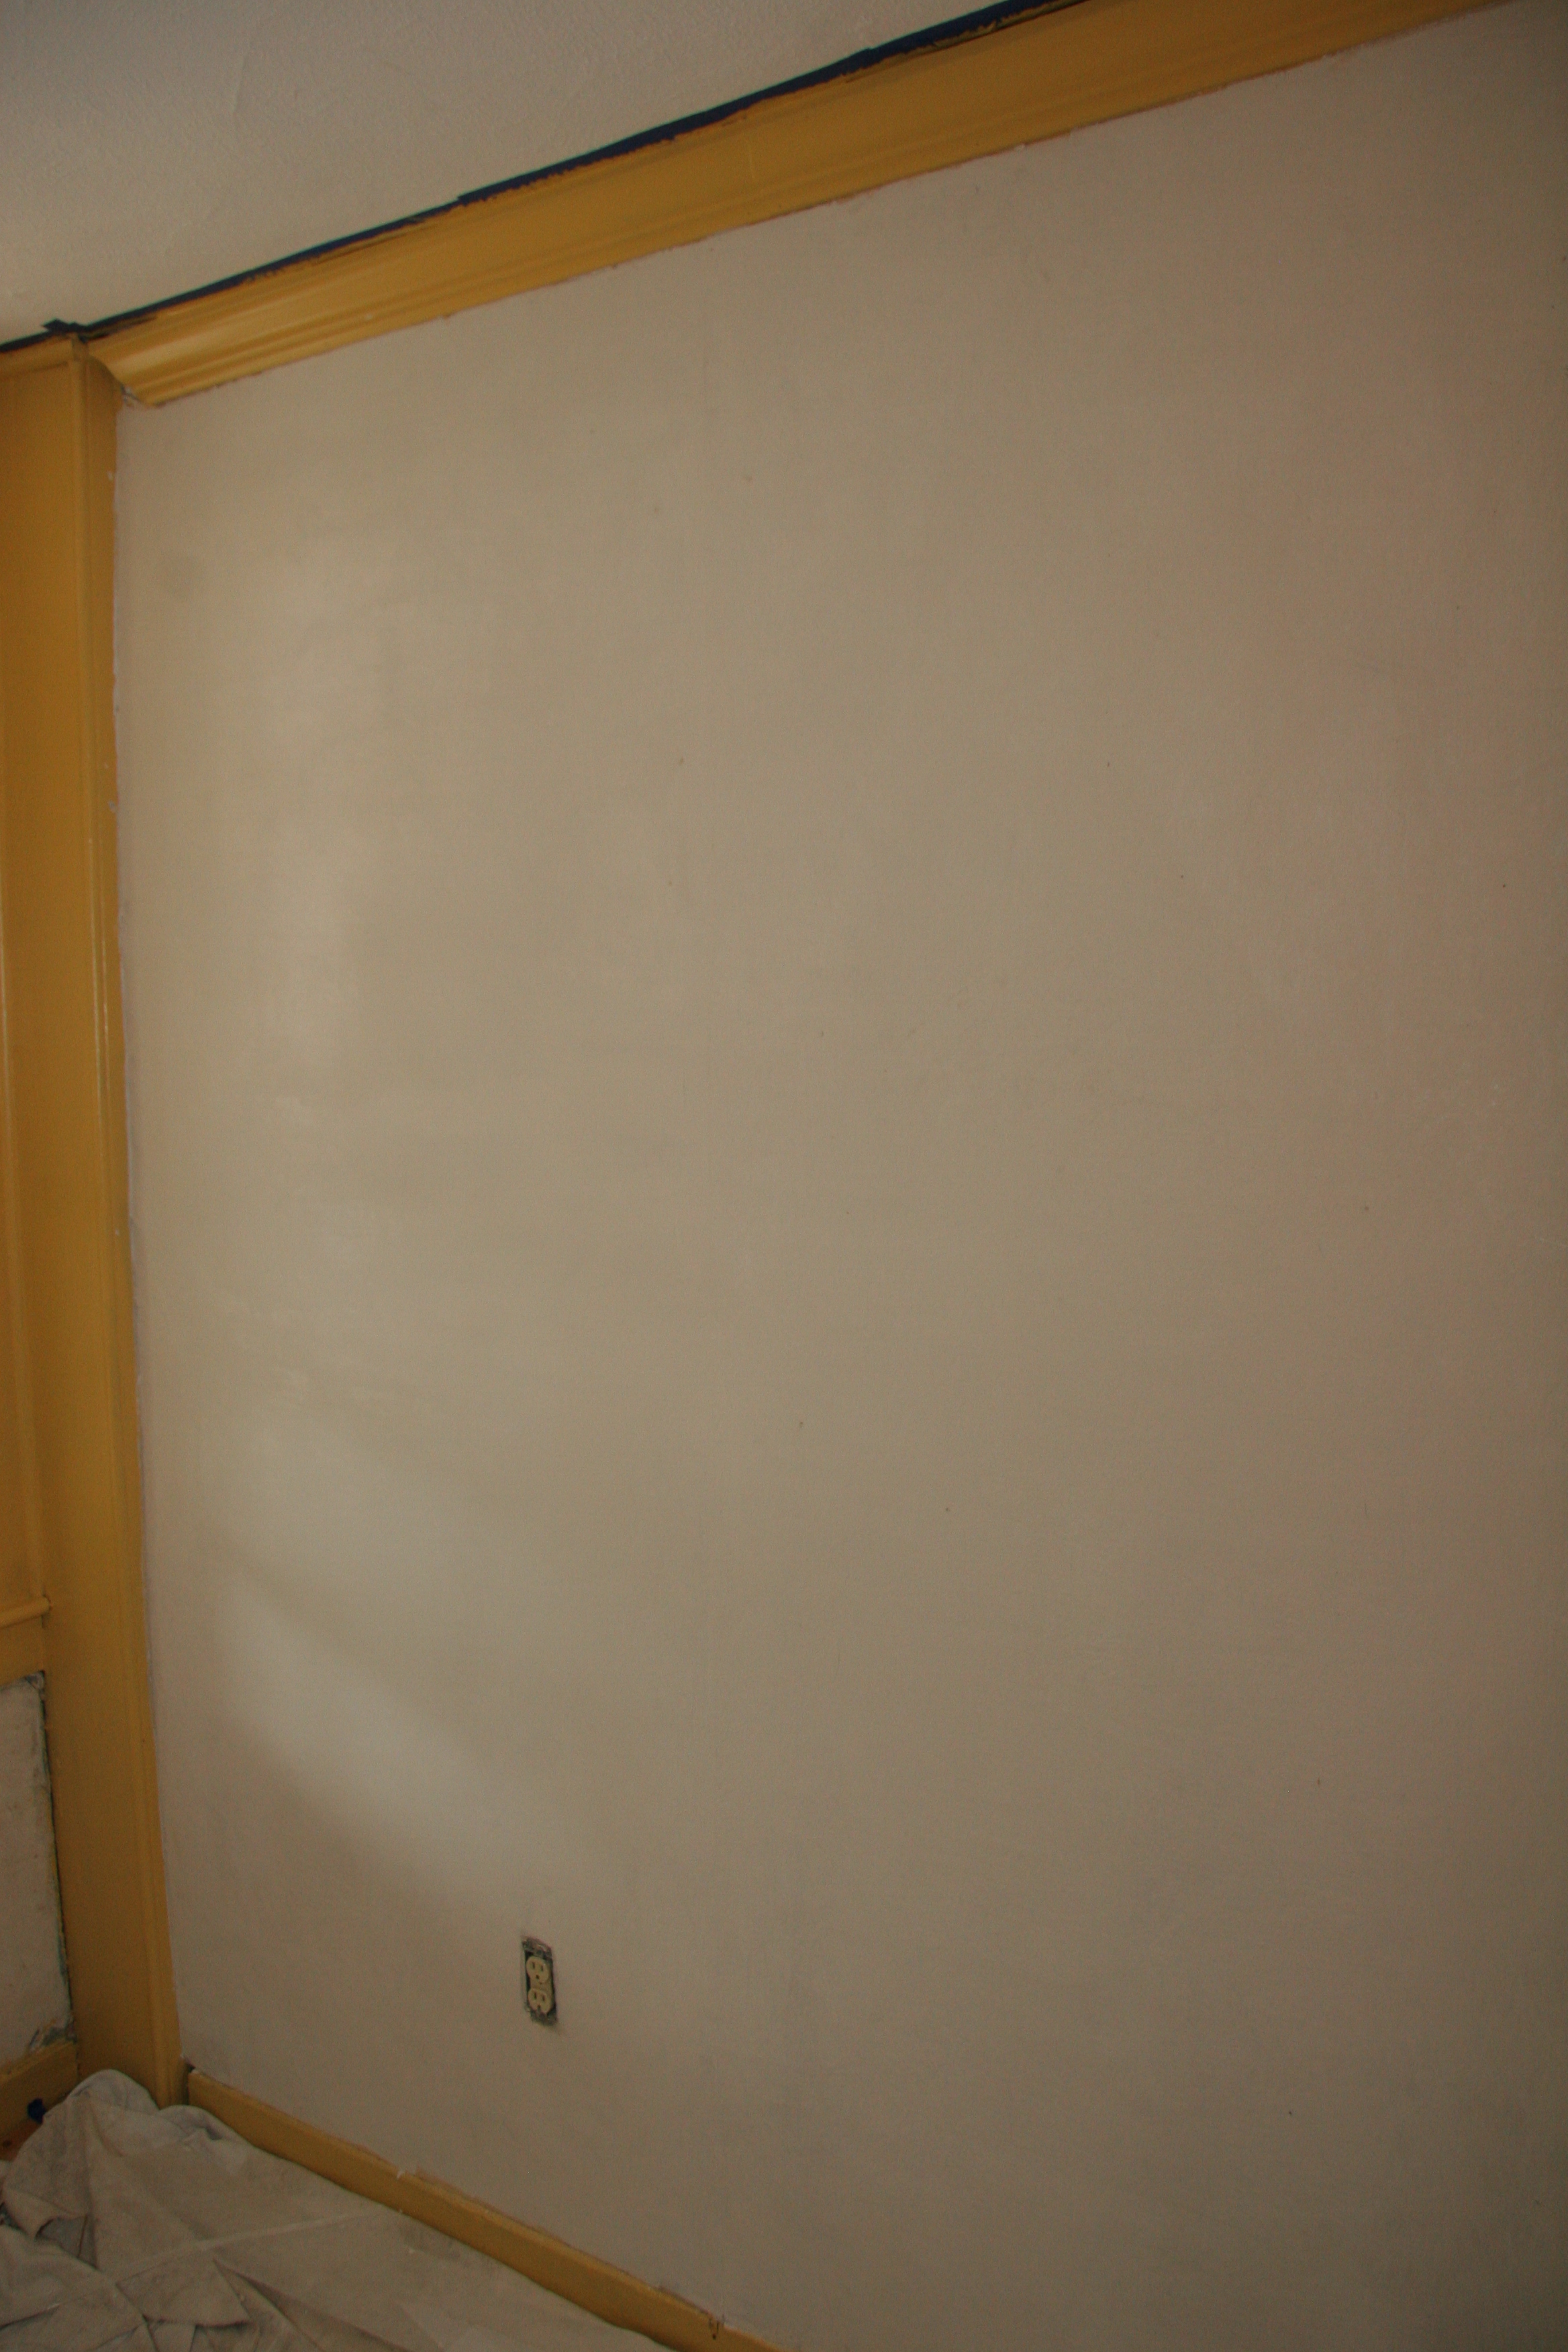
Finished room!! Walls and completely saved and ready for the next 100 years
Wish I had known about this 10 years ago when I had a bedroom ceiling repaired/replaced because the reno GC did not know anyone who did plaster. Too bad, also, that his drywall guy wasn’t good at finishing seams. I can still see the knife marks in the finish. Apparently I’m the only person who looks up in a room. 🙂
I know. I see this all the time